
Getting started with light-painting tubes photography
You’re going to find on this page everything about how to use the tubes and create these magical long exposure images
1- What are these tubes?
These are hollow super light-weight plastic tubes. We use them to create long exposure images.
2- When to use them?
These tubes work best in a dark environment. This can be during the blue hour, at night or in a studio.
3- How to use them?
To light them up, simply insert a flashlight at the base and hold it with the side clip of the flashlight.
These are the basic instructions to get started:
3.1 - Put your camera on a tripod and set it to Bulb mode
3.2 - Adjust the f-stop and ISO values in order to properly expose the background.
3.3 - Go behind your subject with the tube
3.4 - Using a wireless remote trigger, press and hold the shutter button while you draw the shapes (a circle, or any shape you can imagine). During the exposure, make sure your model is perfectly still.


4- Where to get them?
Our tubes are available on LightPainting.store. We also teach how you can make your own tubes on the DIY light-painting tubes page.
Here’s our latest video about the tubes that are available on lightpainting.store. This is the best of our videos if you’re looking for a close up of our tubes.
5- Aside from the tubes, what else is required?
5.1 - Camera or smartphone: any camera that can do long exposure is going to work. These are some of the cameras I have been using over the past 6 years: Canon SL1, 6d, 6dii, 5dii, 5diii, 5div, 1dxii, R, R5, M5, Sony ARii, Fuji X-t1, Samsung Galaxy Note 8, S10, Huawei Mate 8. And in our workshops, we lined up pretty everything you can imagine in the Nikon/Canon/Olympus/Sony/Fuji departments :)
5.2 - Tripod: a general rule for long exposure is to get a very sturdy tripod. In my case, as I shoot very low, I travel with super light-weight tripods (Benro Slim)
5.3 - Wireless remote trigger: Yongnuo RF triggers. at 30$ for a pair, this is a no brainer. Here’s the video where I talk about this camera trigger.
5.4 - Flashlight: the Nitecore P10v2 is my current favorite flashlight either for outdoors or studio work. Check out my full flashlight review page for more options.
5.5 - Accessories: get the feathers, caps, bags and extenders on the Accessories section on our light-painting store.
Check out the Gear page for more details.

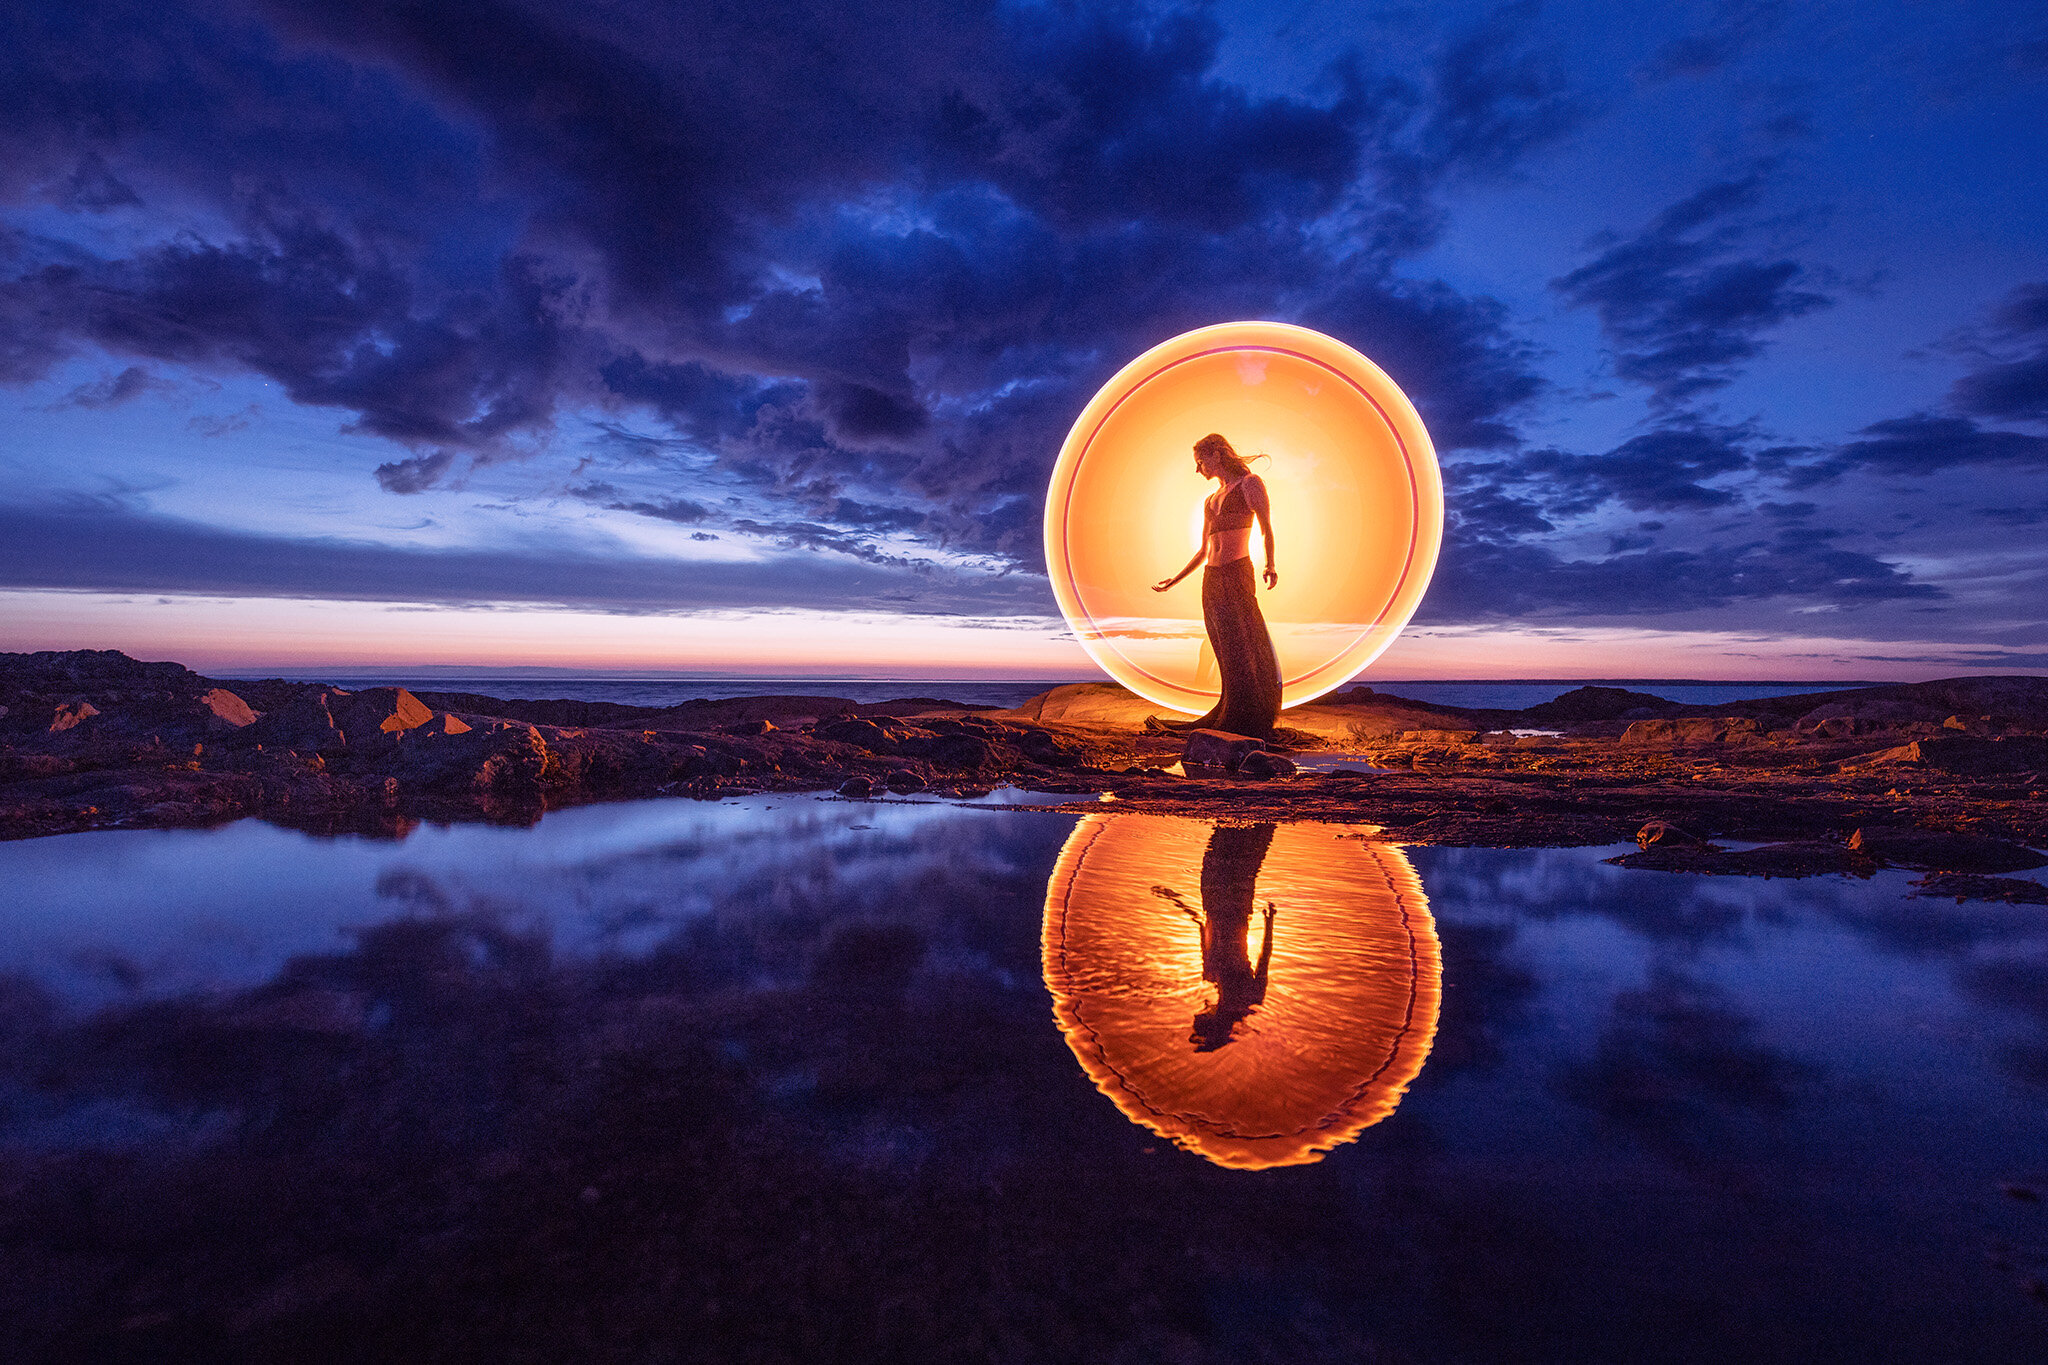
A tube light-painting picture taken at the beach with Kim Henry using the Holographic Peach tube and a flashlight on strobe mode (blinking).
A tube light-painting picture taken by the river with Kim Henry using the MilkyOrange tube and a feather on top.