Tube light-painting tutorial: Making perfect circles
Circle is among the first shapes we ever did with a tube and to this day it is still one of our favorite shape to do. We've been asked many times how to create a perfect circle, so we finally decided to create a short video about how we do it.
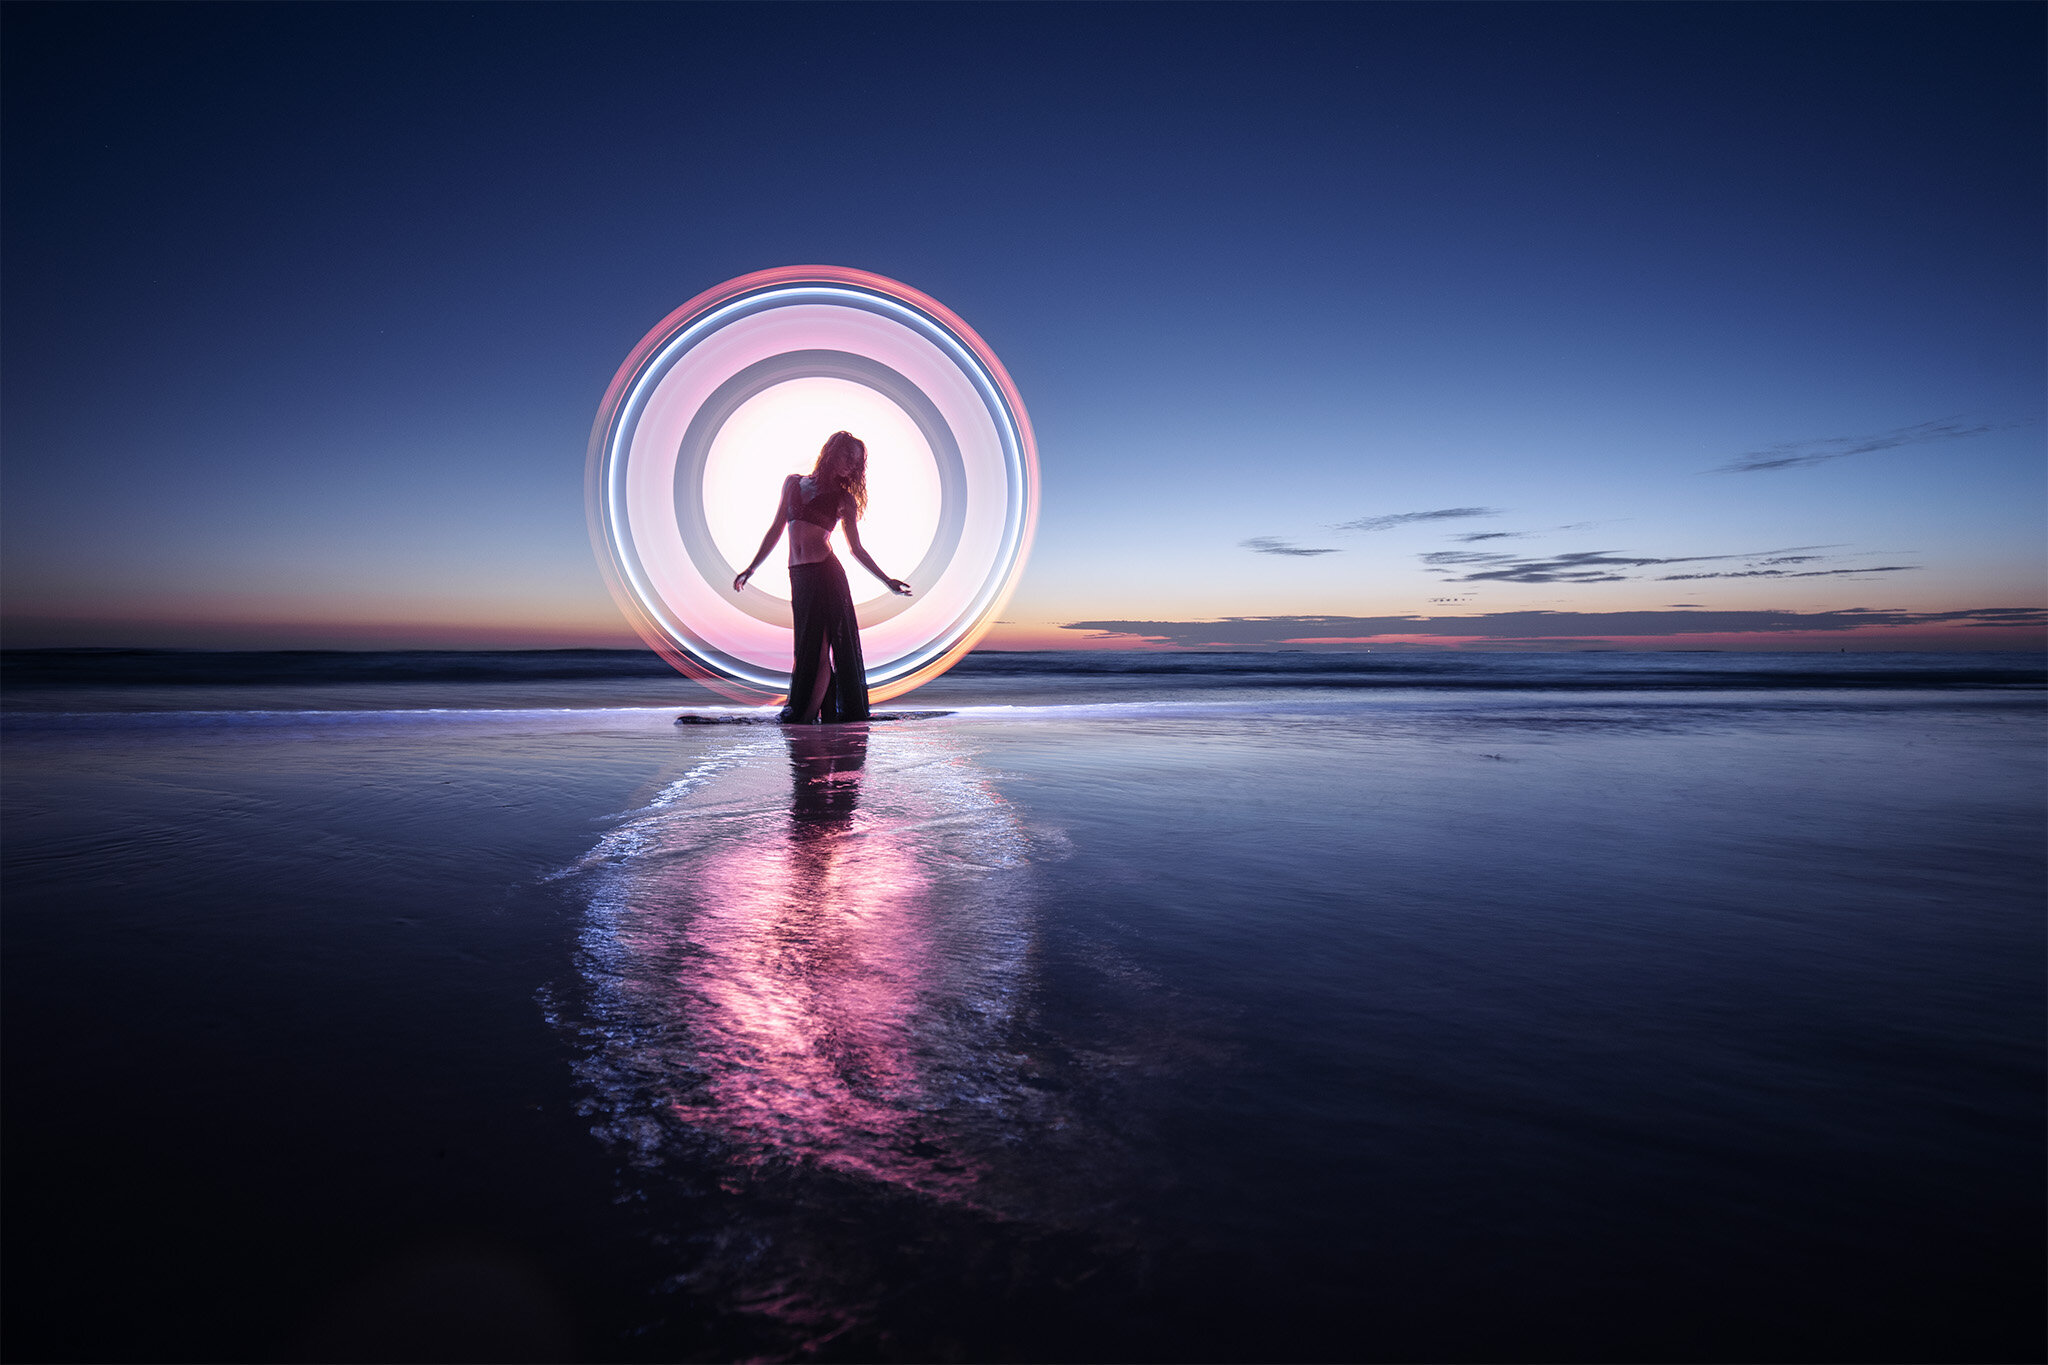
There are a few key elements to think about, and one of them is how you hold the tube. Placing his body sideways behind me so he's hiding from the camera, Eric holds the tube, extending his arm to create a movement of rotation that is constant. Then, Eric fixes a point in my back that will be the center of the circle. He starts and finishes the movement behind one of my leg to avoid any overlap. When he rotates the tube, he makes sure his hand stays at the same height, at the point he's fixing. At the end of the rotation, he often opens his hand to complete the circle without having to bend his elbow or move is arm position.
Another thing to consider is the angle of your circle in relation to the camera. You want to make sure the plane on which you create your shape is parallel to the plane of the camera, otherwise your shape will look distorted and you might be visible.
Once you understand how to create circles, there are many other options of shapes you can create. And that's going to be the subject for another upcoming video.
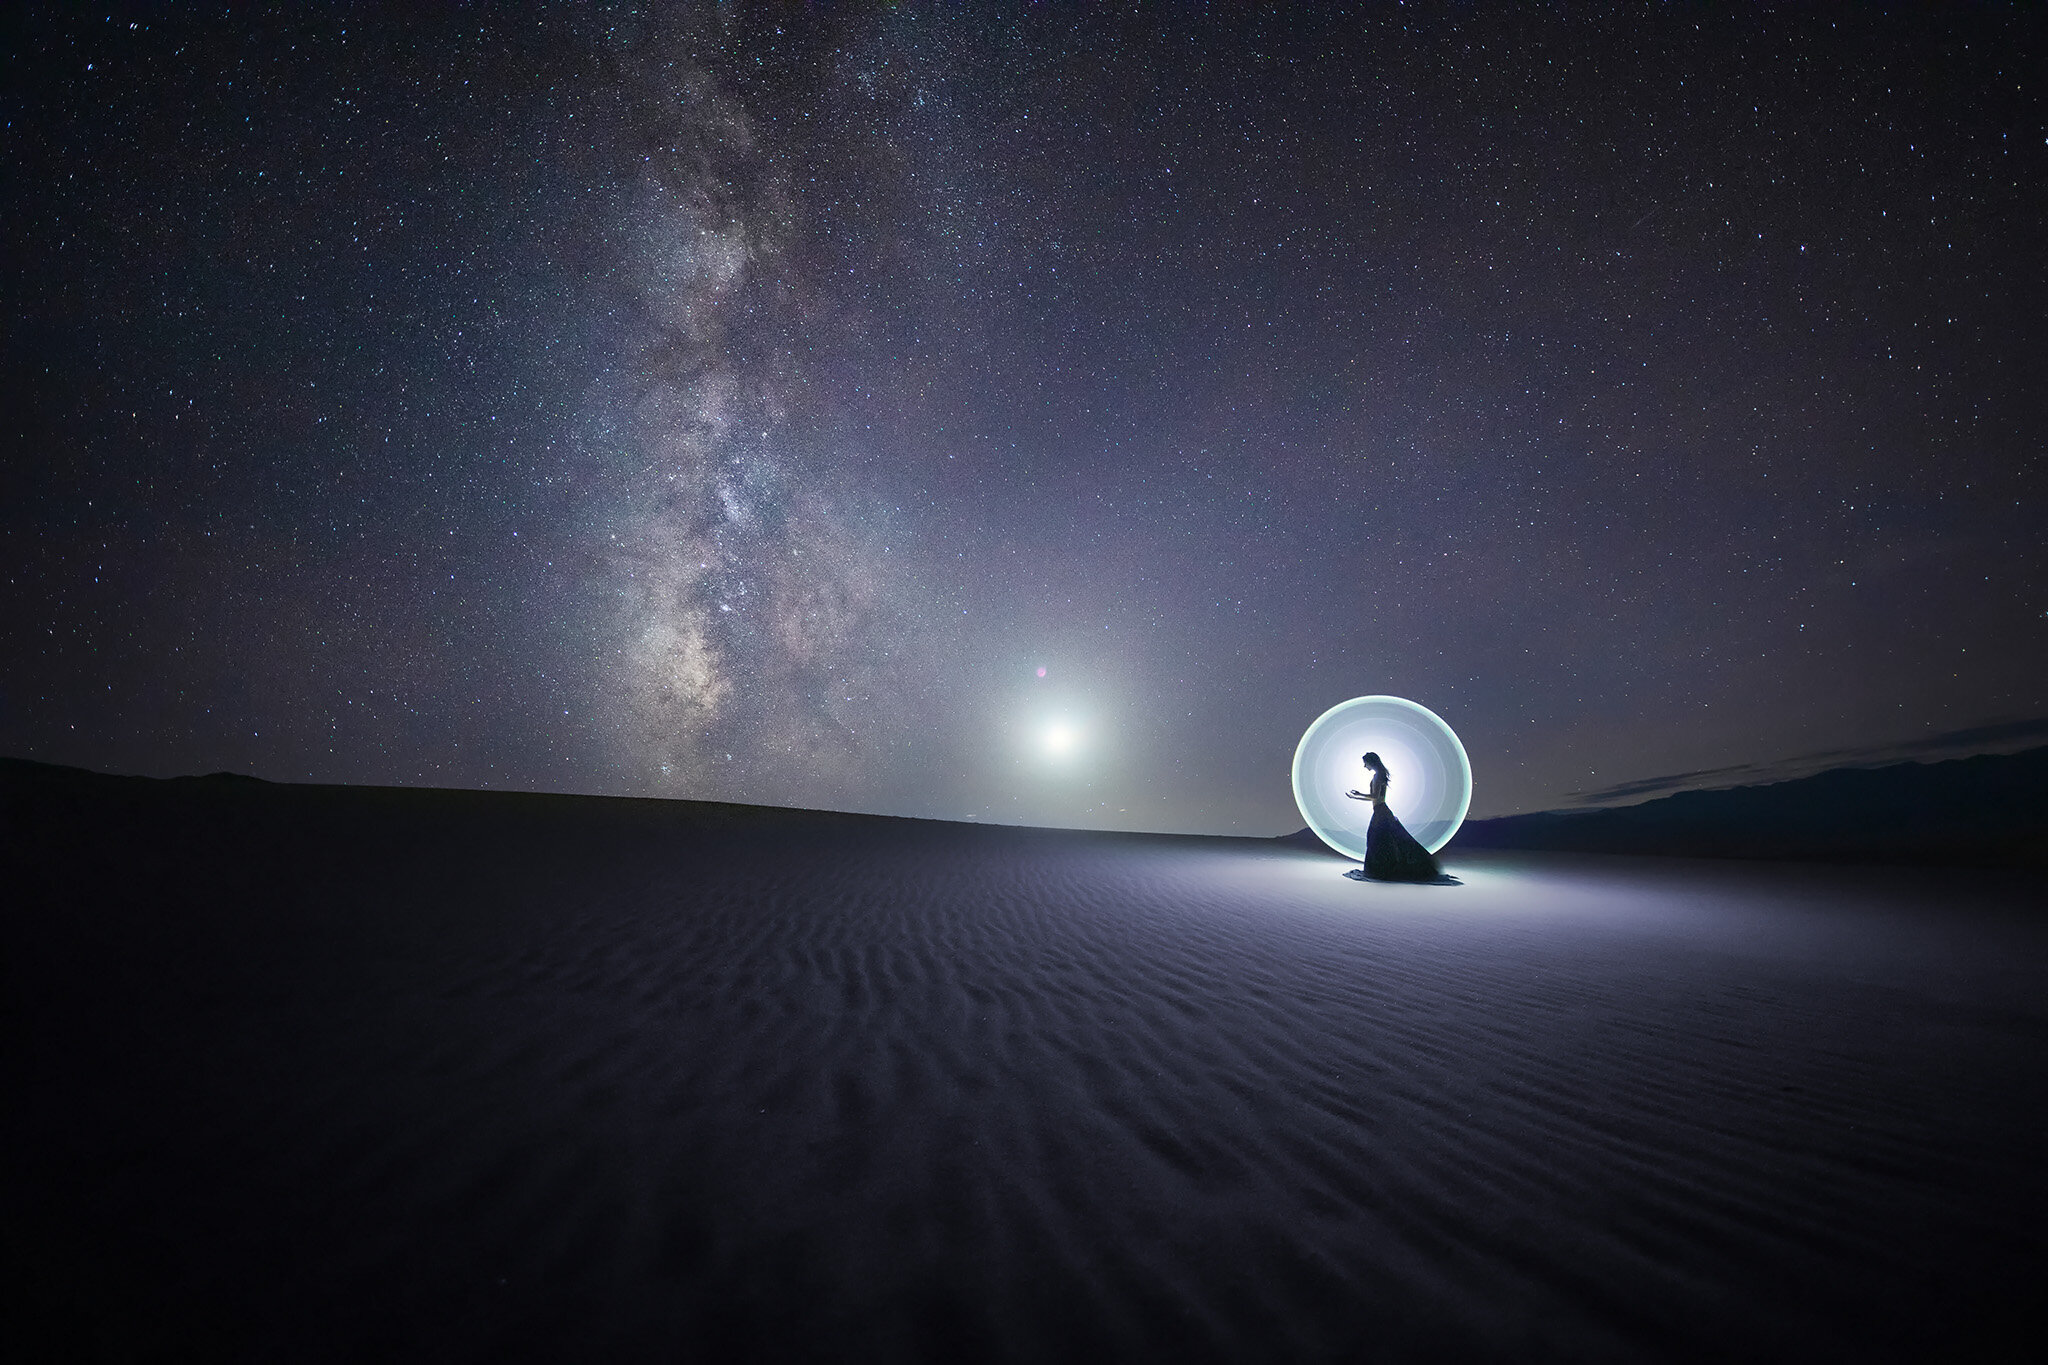
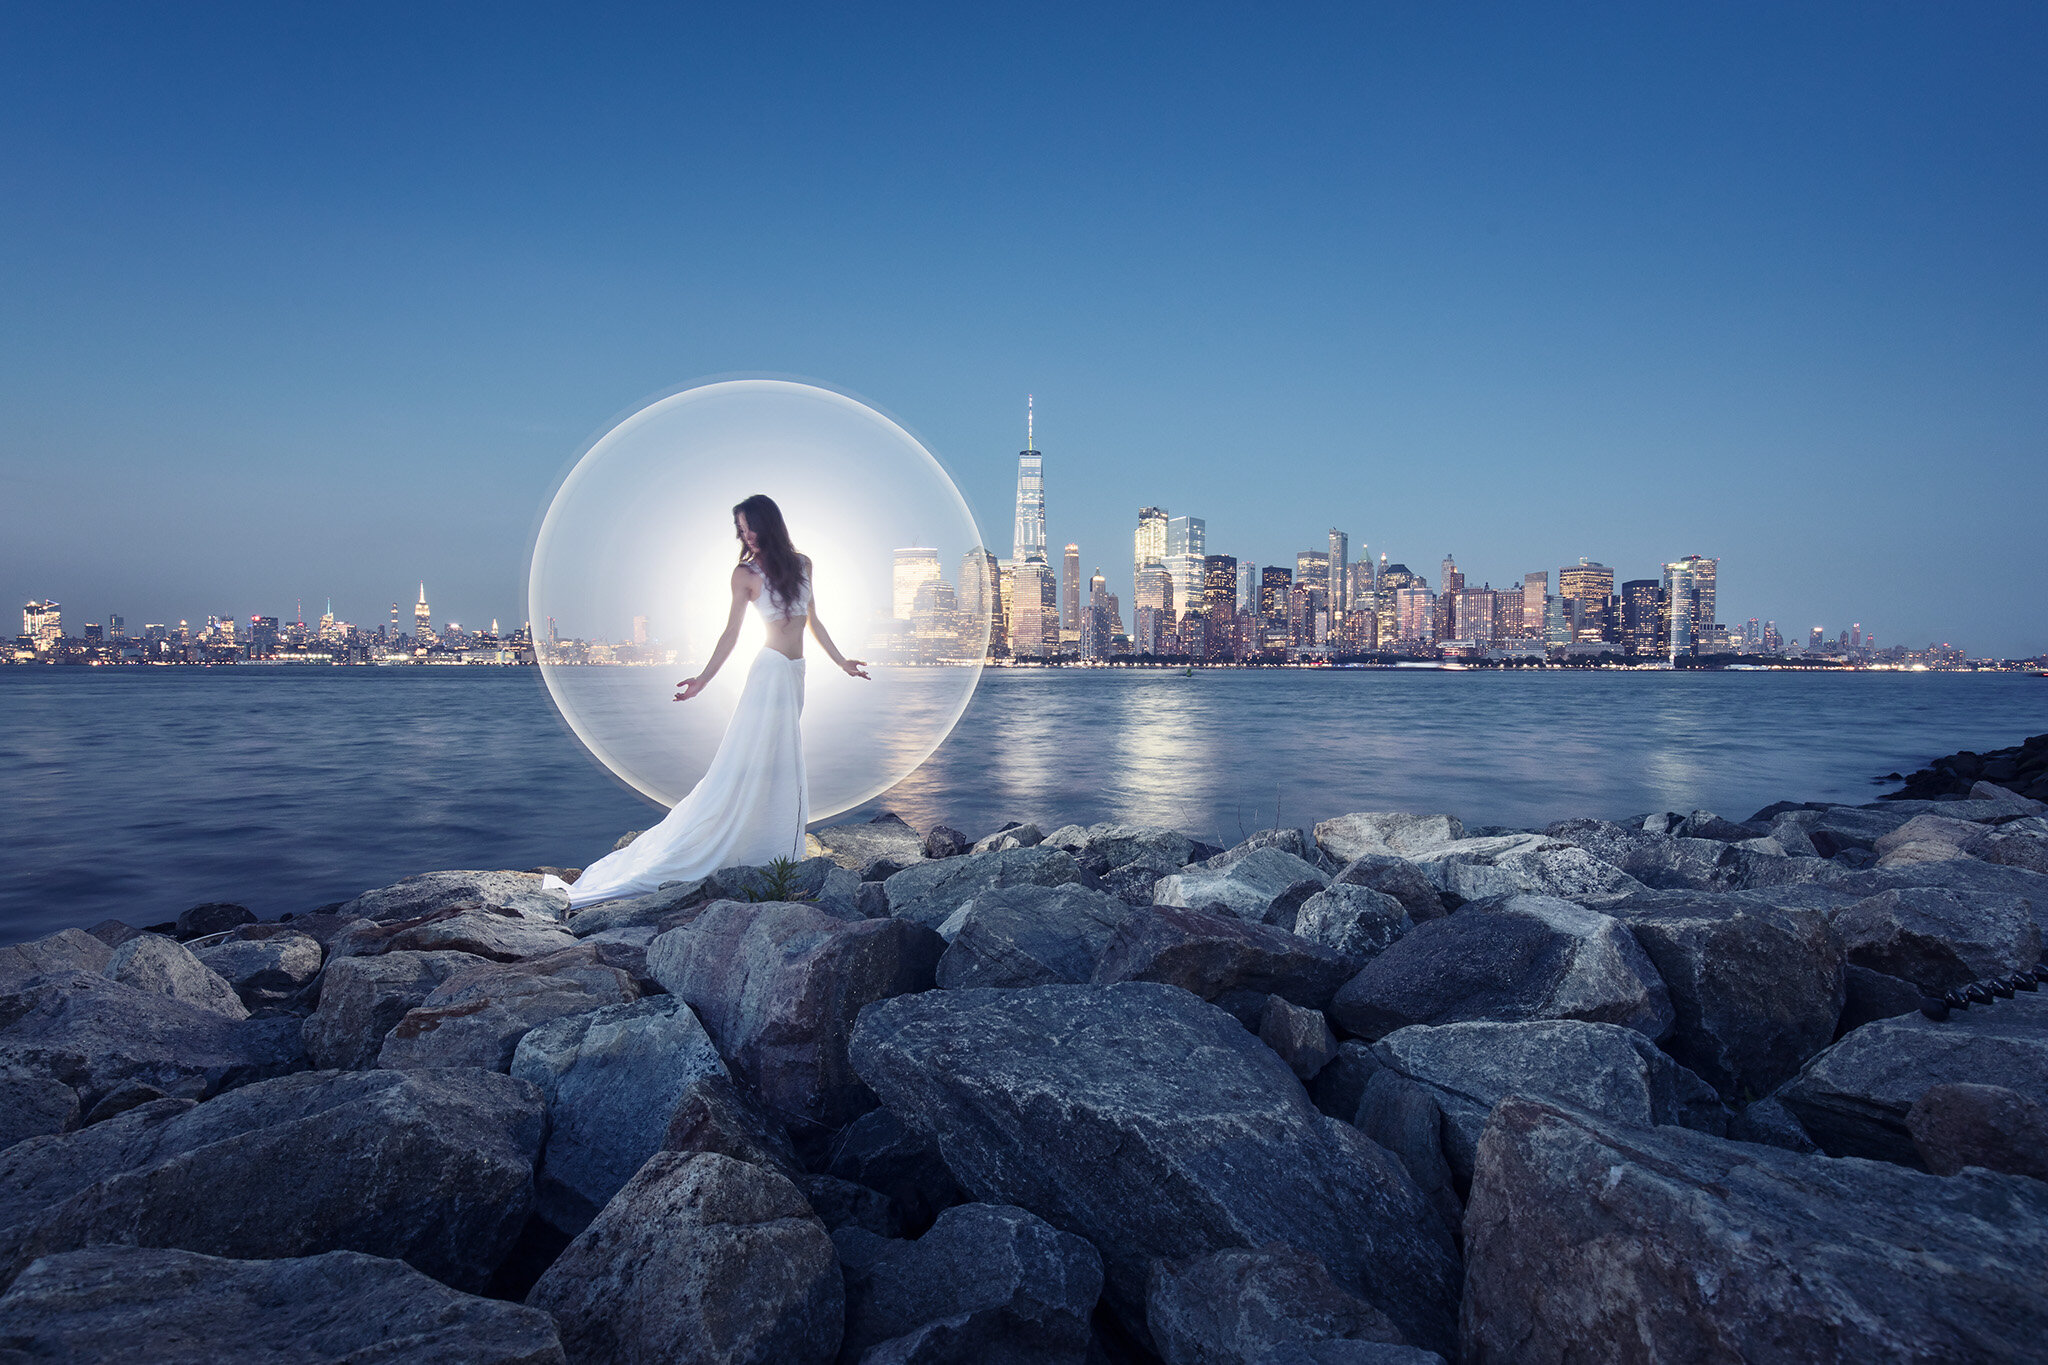
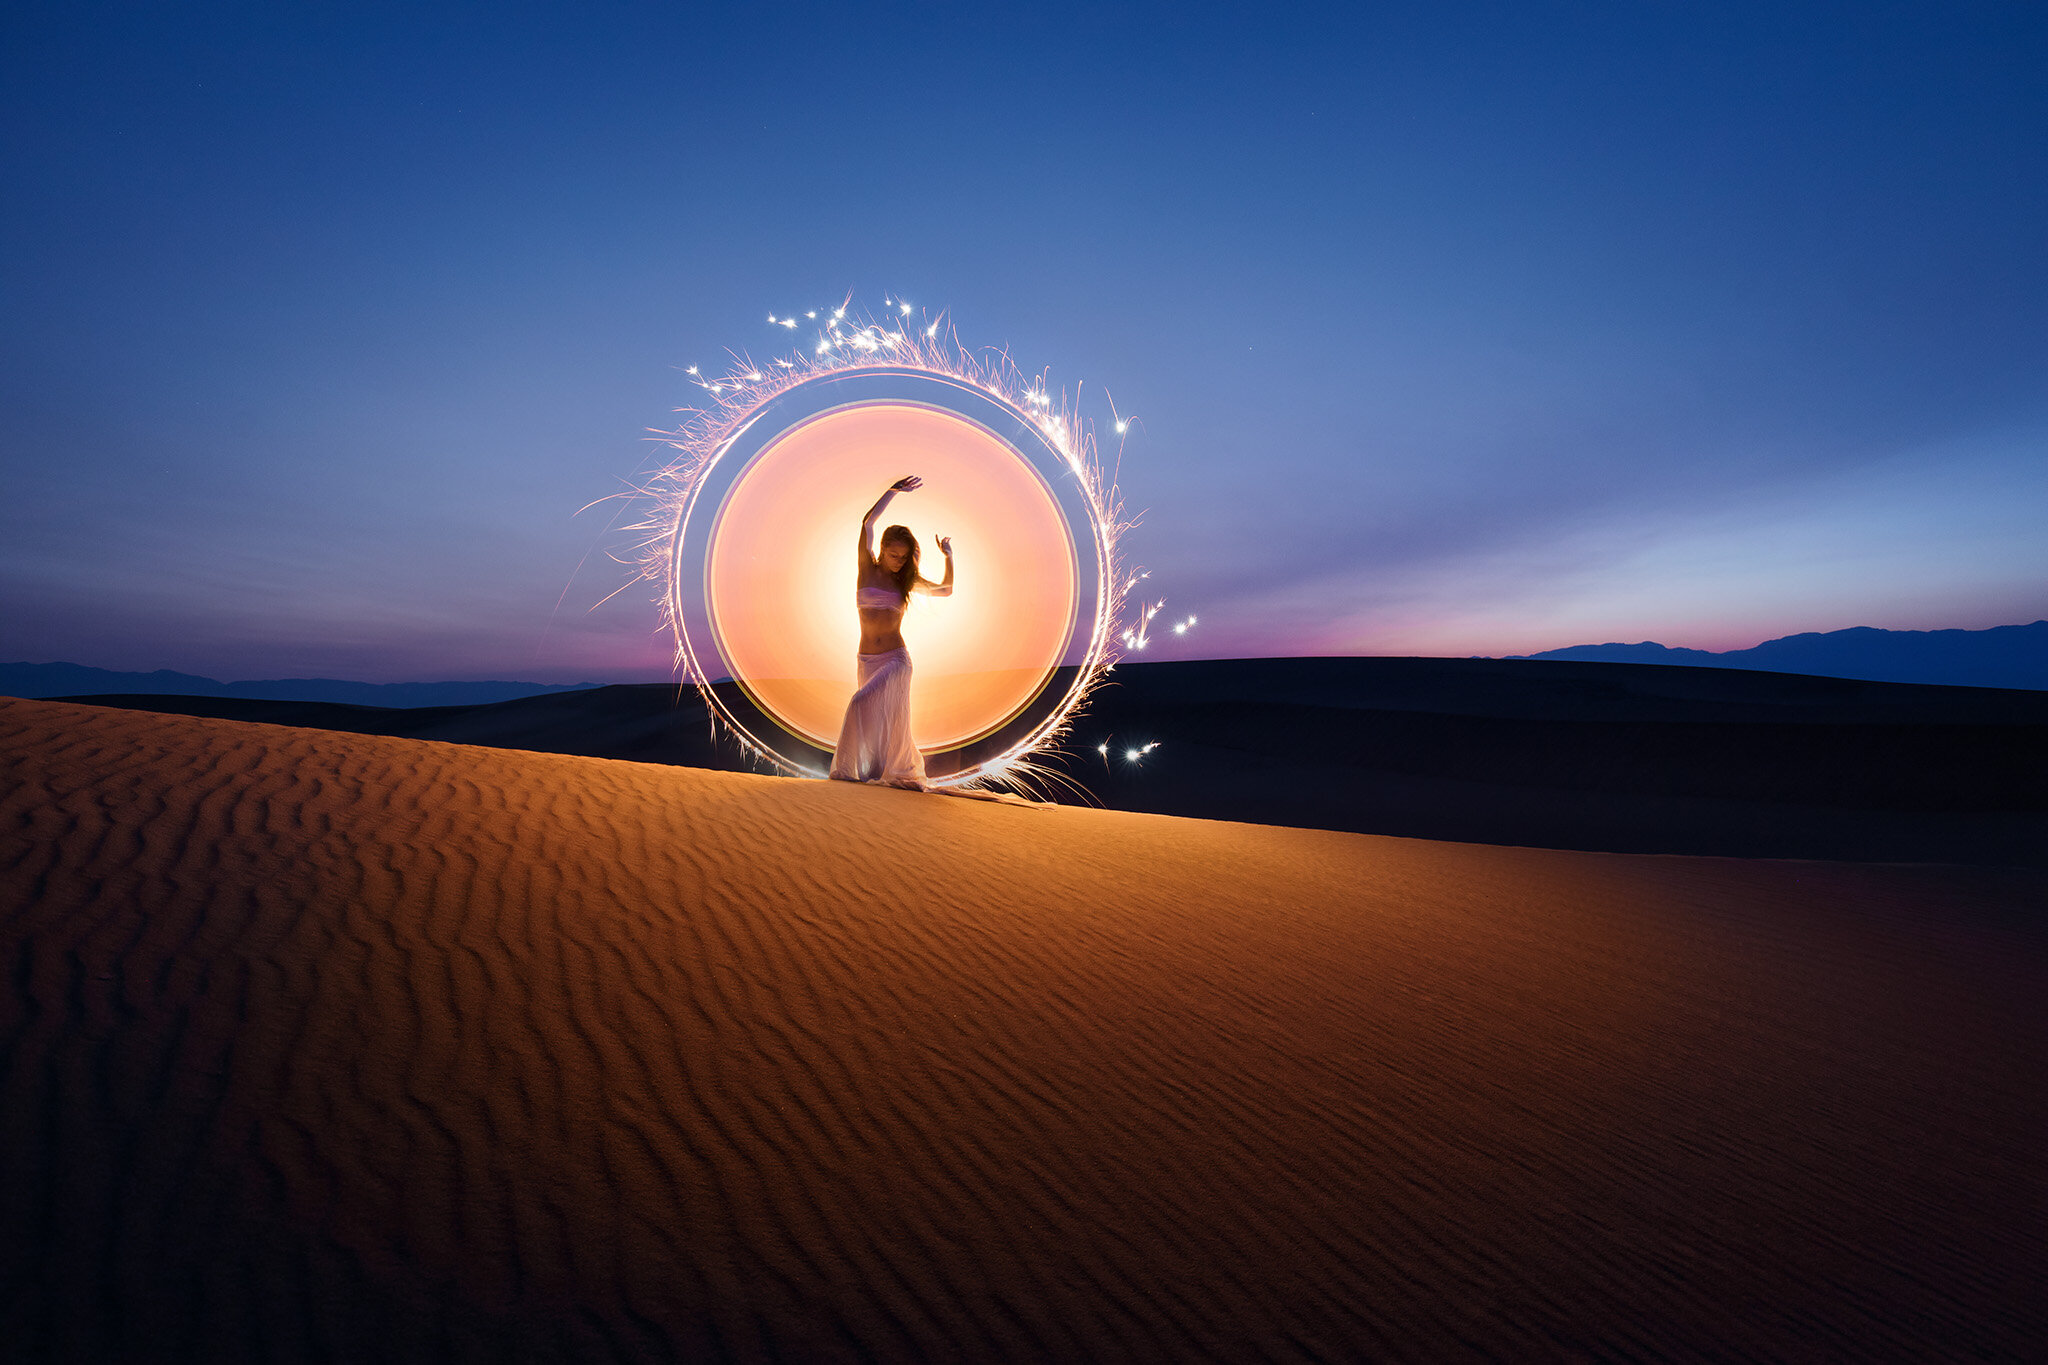
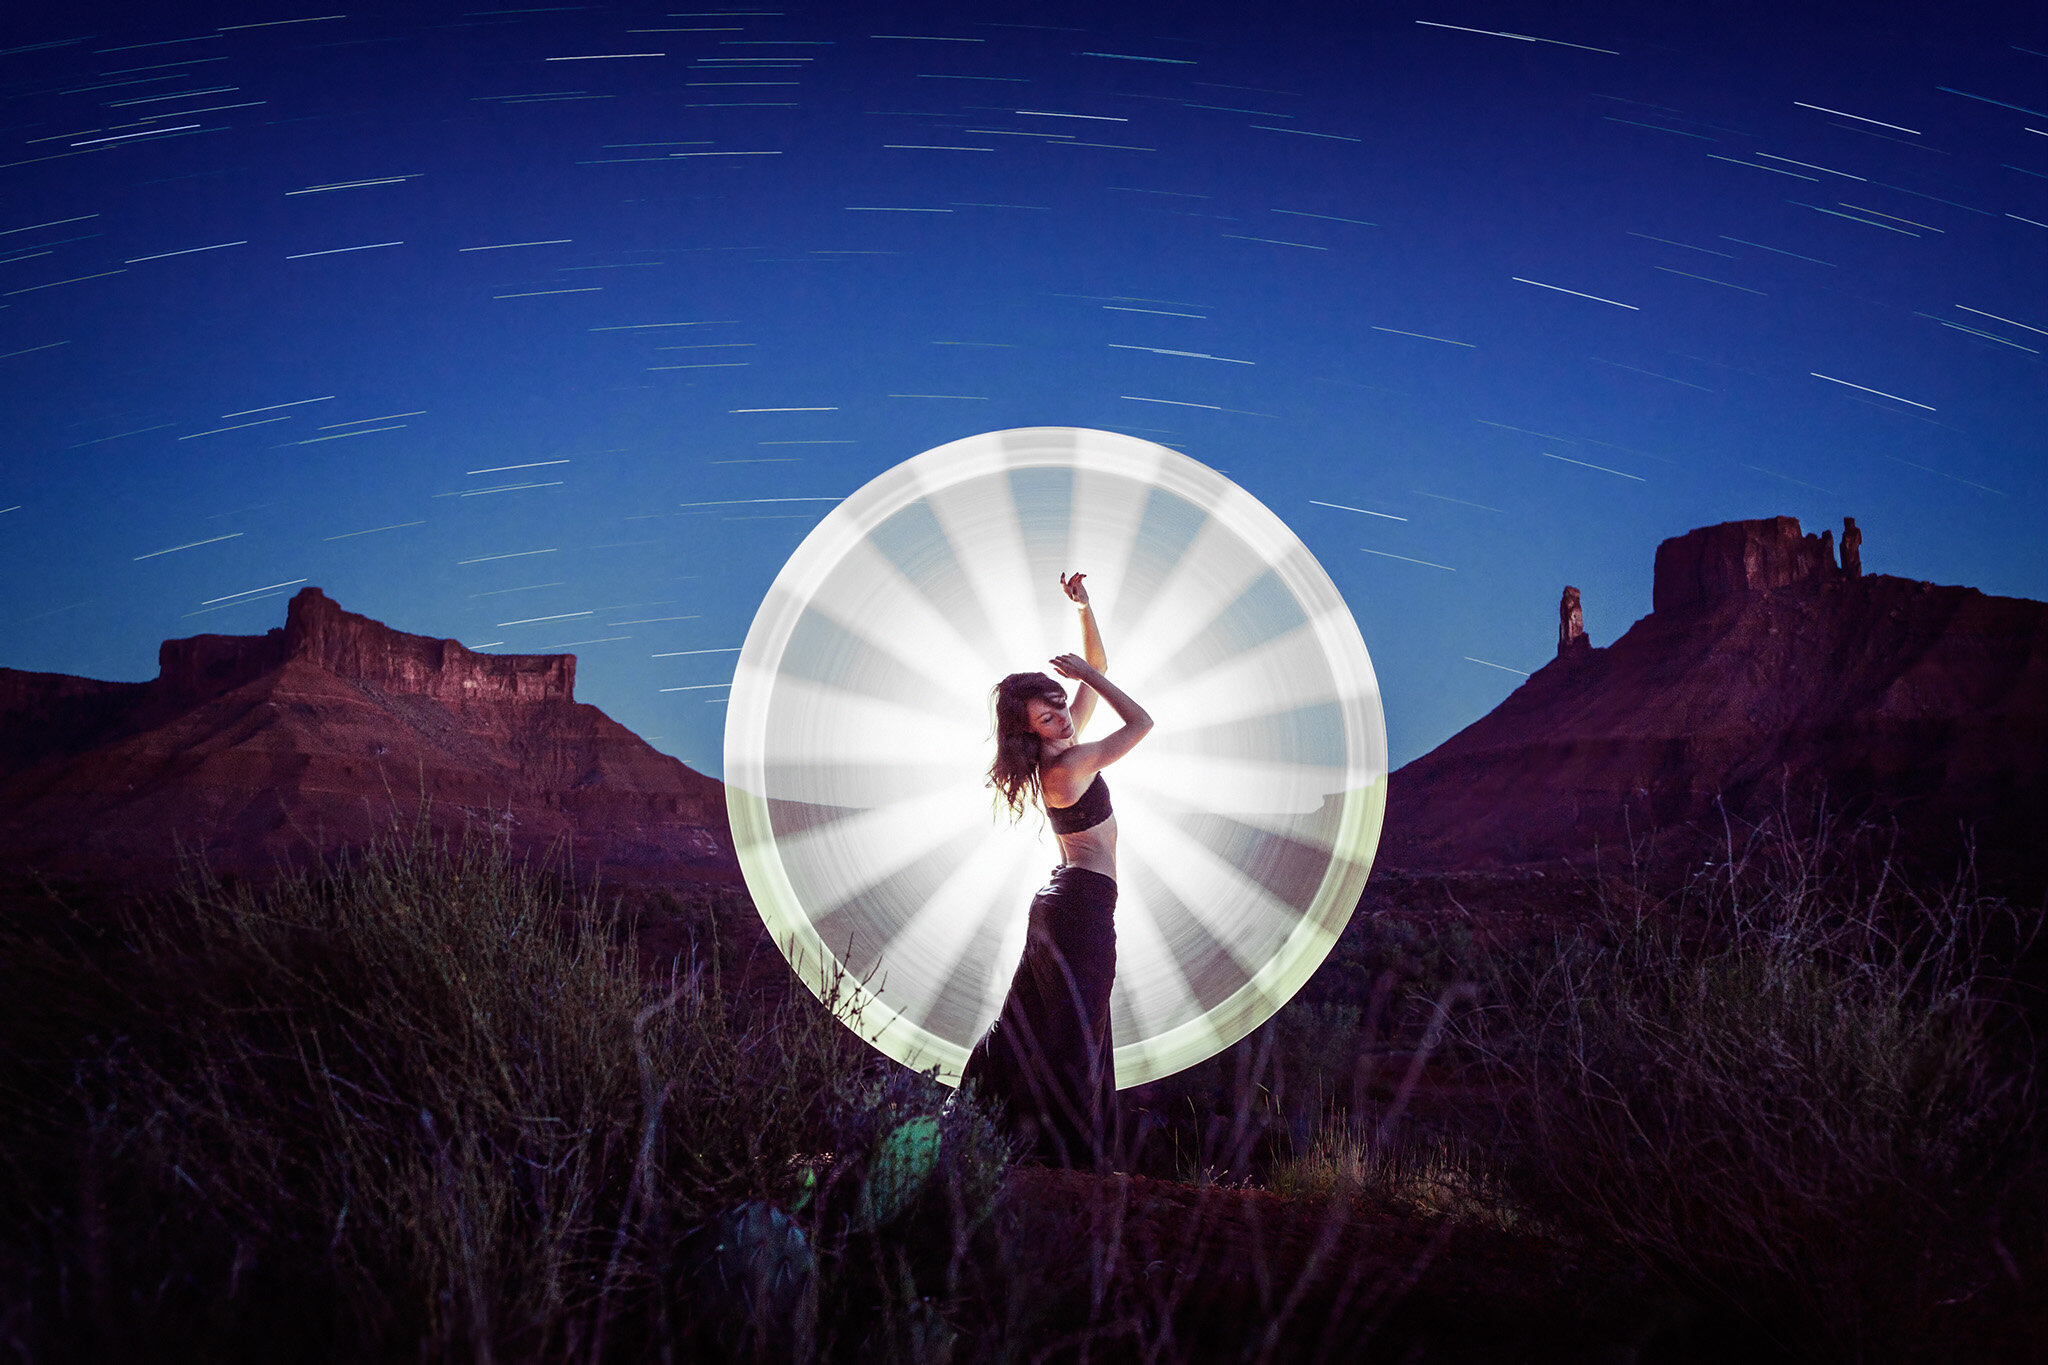
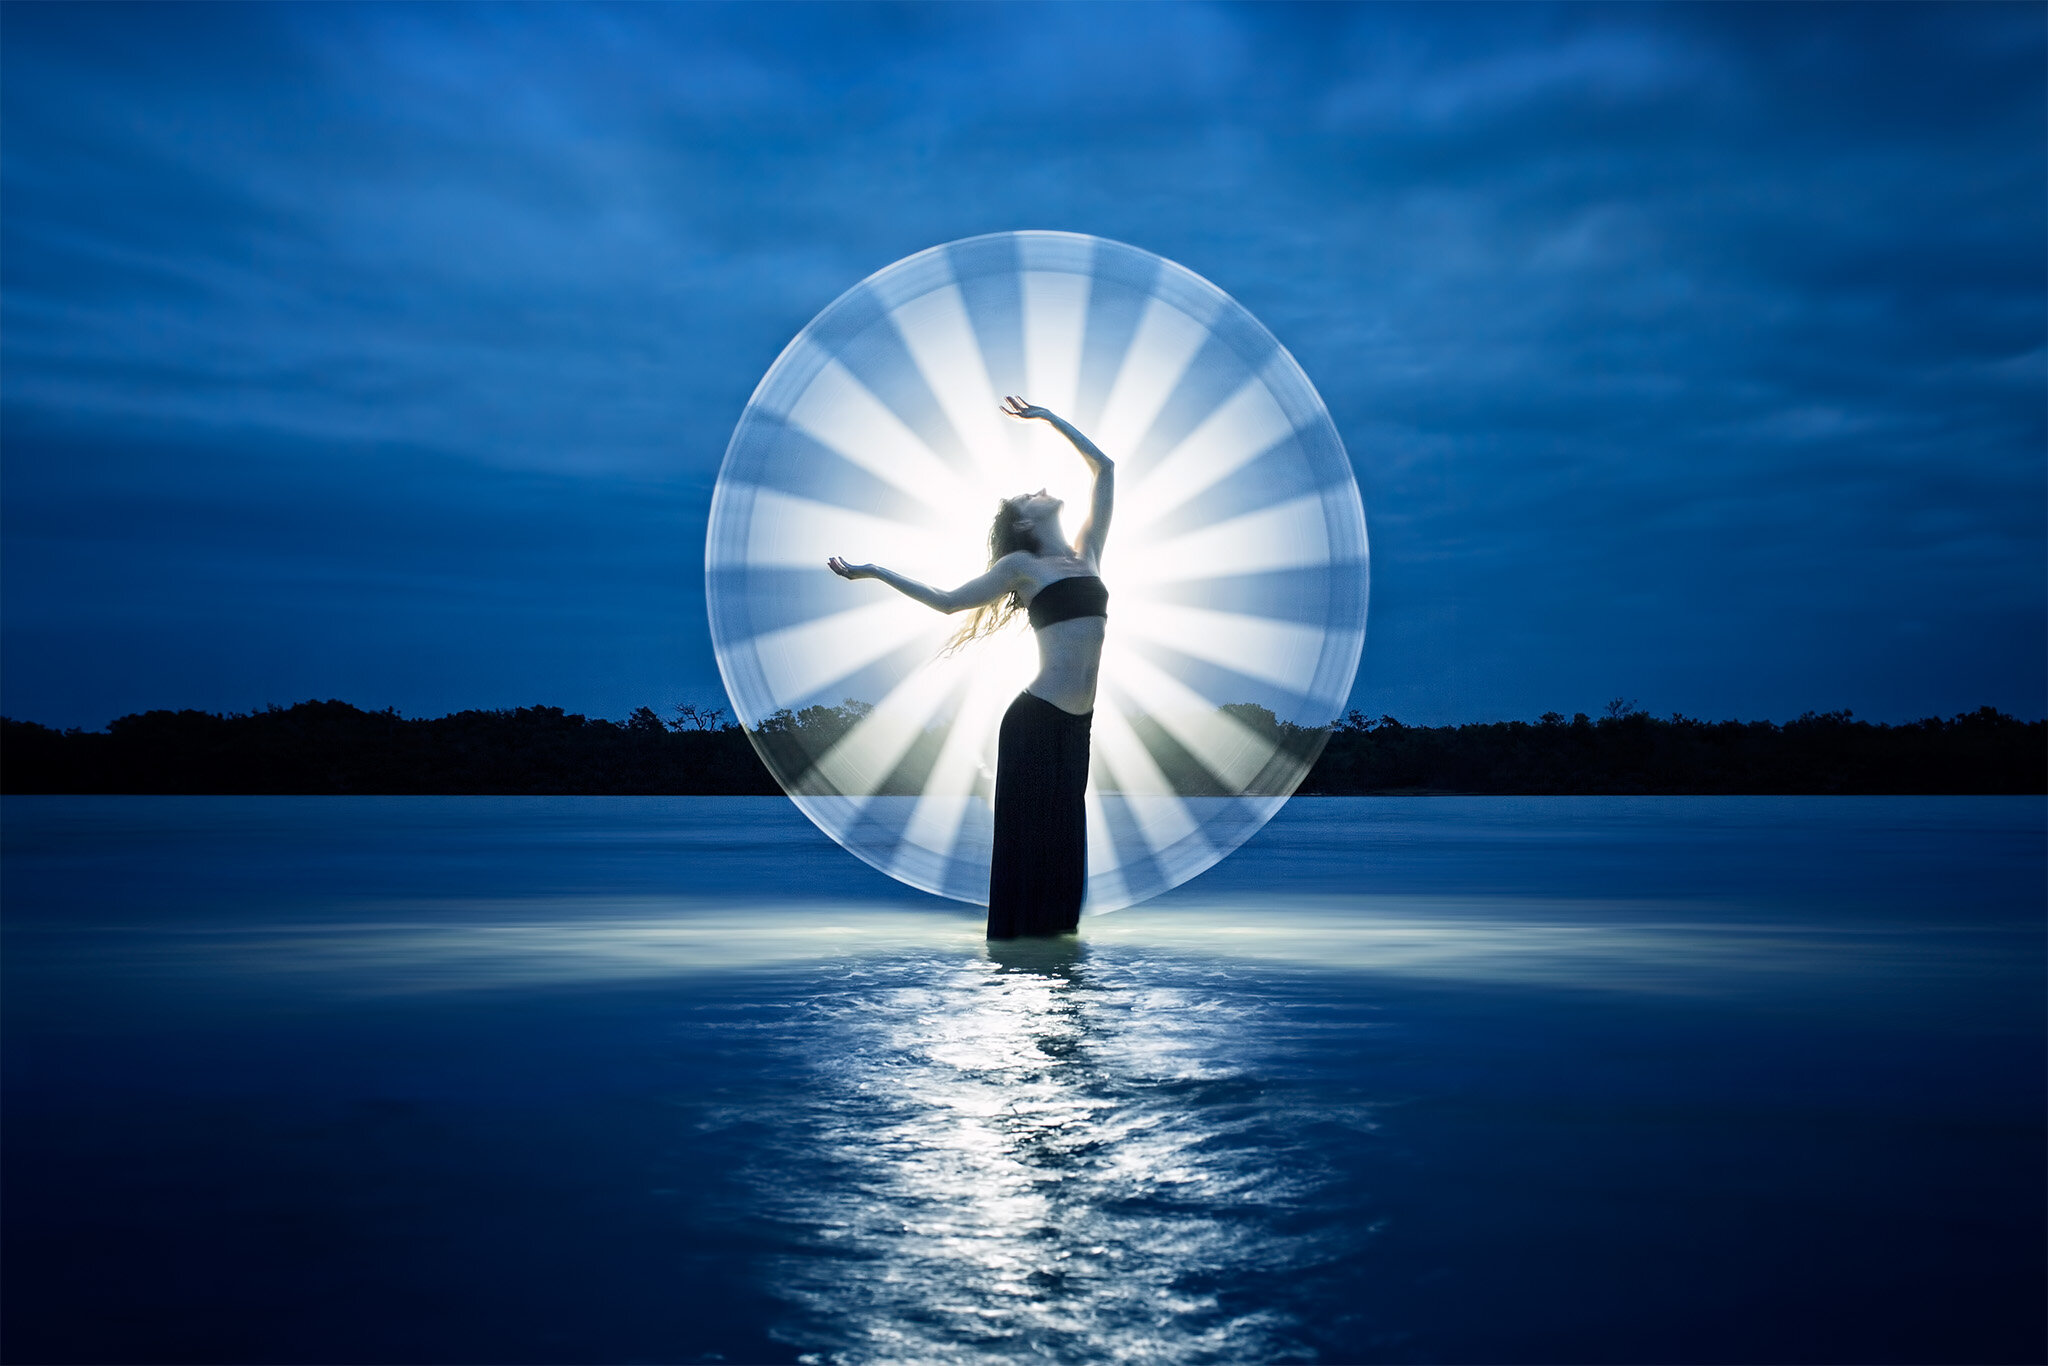
Here’s a quick gallery with circles created from 2015 to 2019, with Kim Henry of course :)