Camera settings for tube light-painting - tutorial
There are no perfect camera settings, but there is an easy way to master perfect exposure for each of your shots during the blue hour.
During the blue hour, in order to keep a well balanced image, we constantly have to crank up the settings of the camera, while dimming down the brightness of the flashlight. On that night, the blue hour duration was 56 minutes. A good way to know the exact moment when the blue hour starts and ends is to use Photopills and check the beginning of the Nautical time and the end of the Astronomical time. This is our usual working time.

Photopills planner
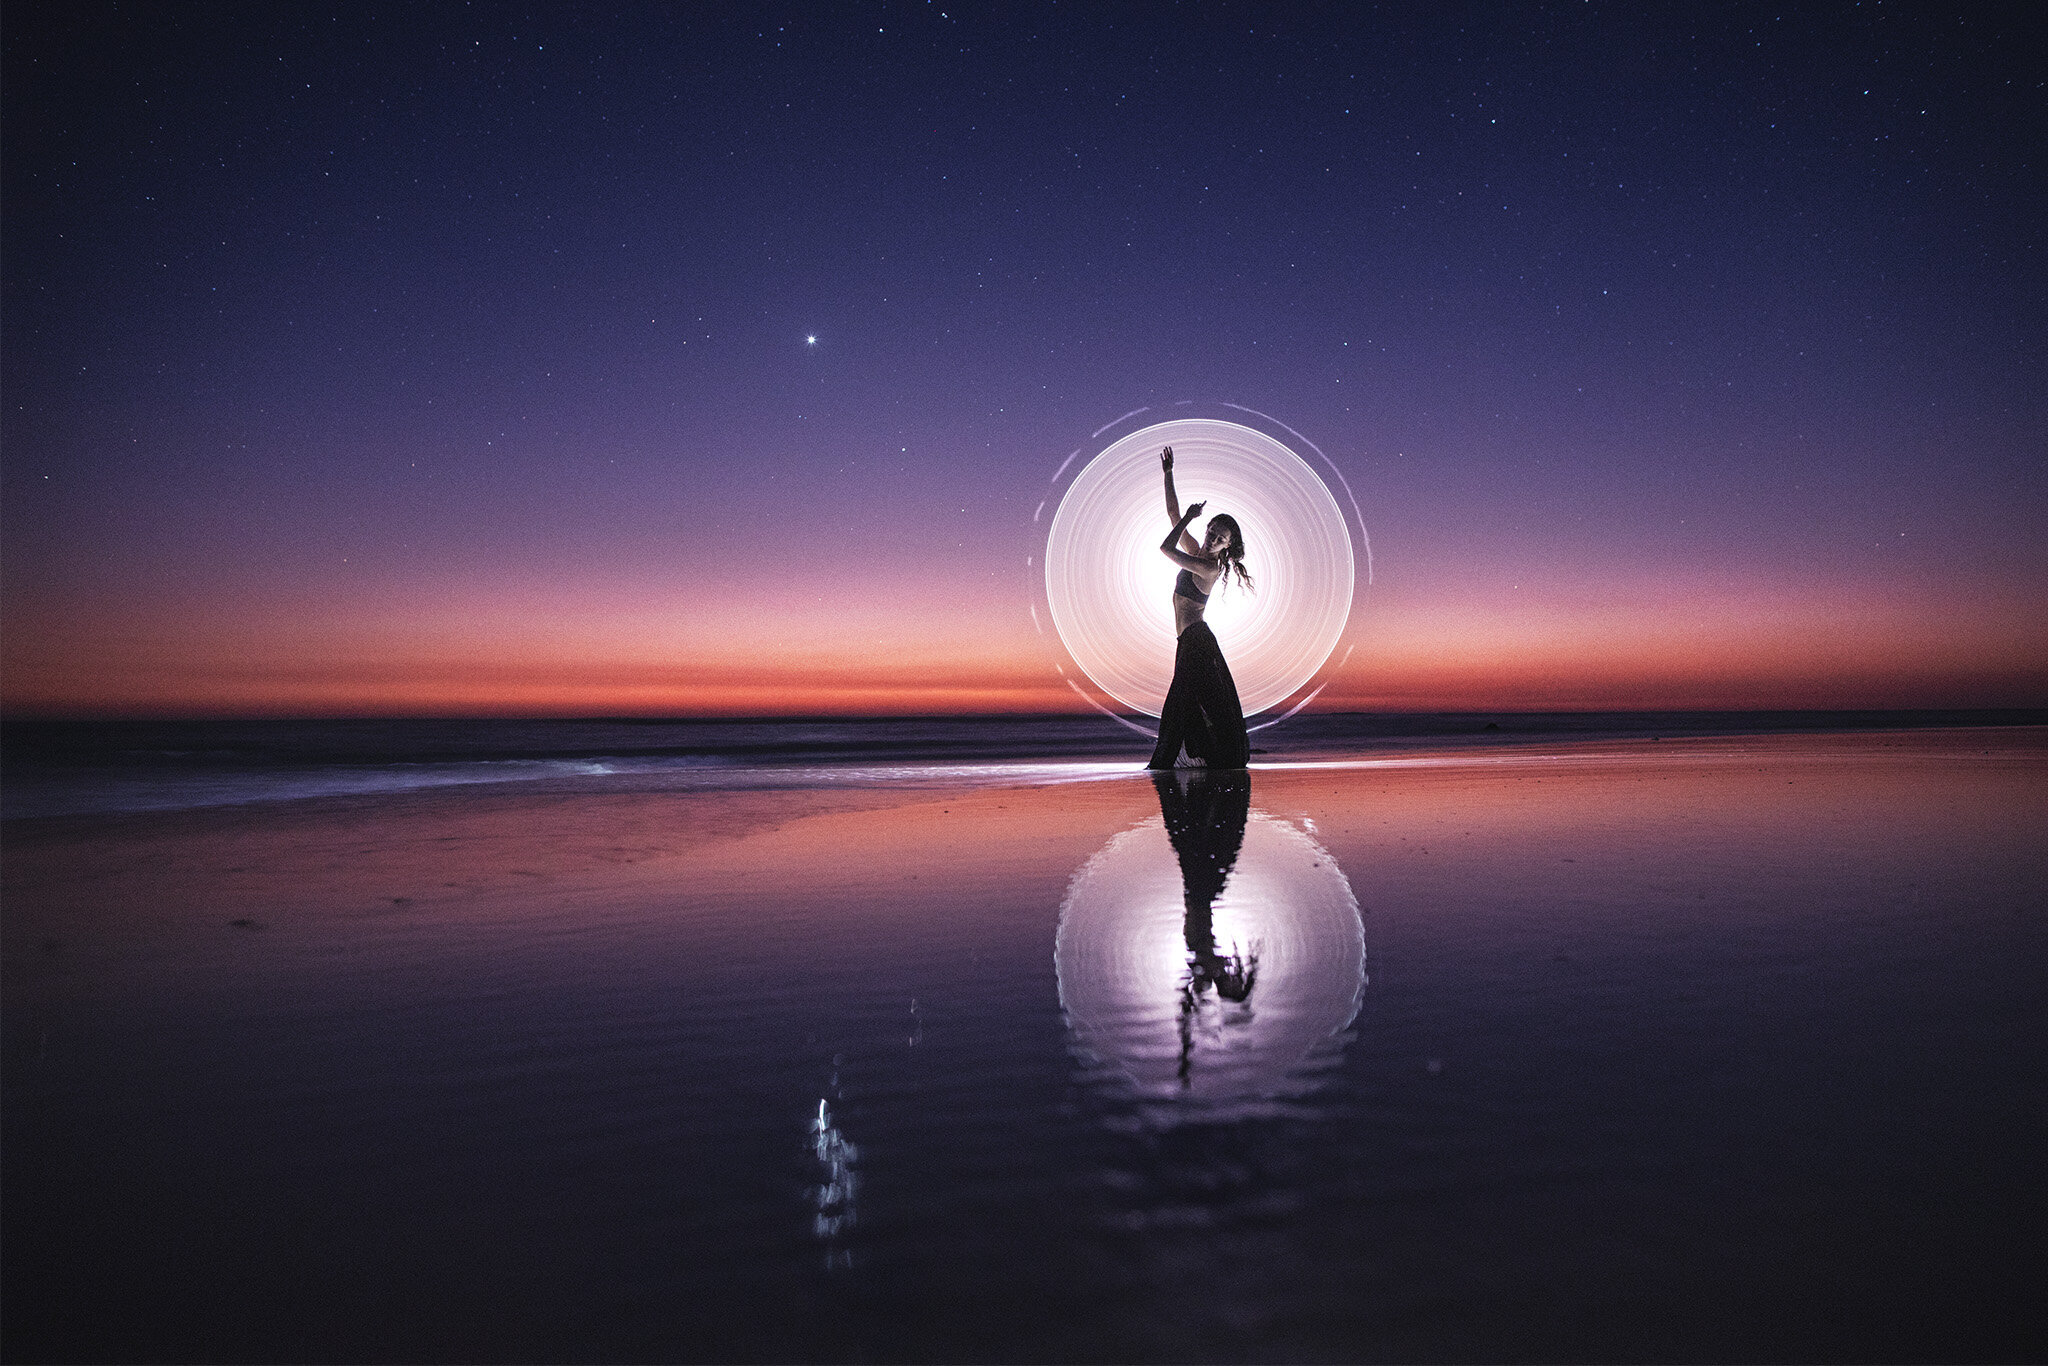
My workflow is to do a test shot from behind the camera to figure out the right settings, then I go behind Kim, I do a couple of shots, and I review the images and I make some adjustments if needed. On a typical blue hour night, I change the settings about 10 times. That night, I started at iso100, f13, about one second exposure time on bulb mode, and 3000 lumens (I used two flashlights and two tubes)

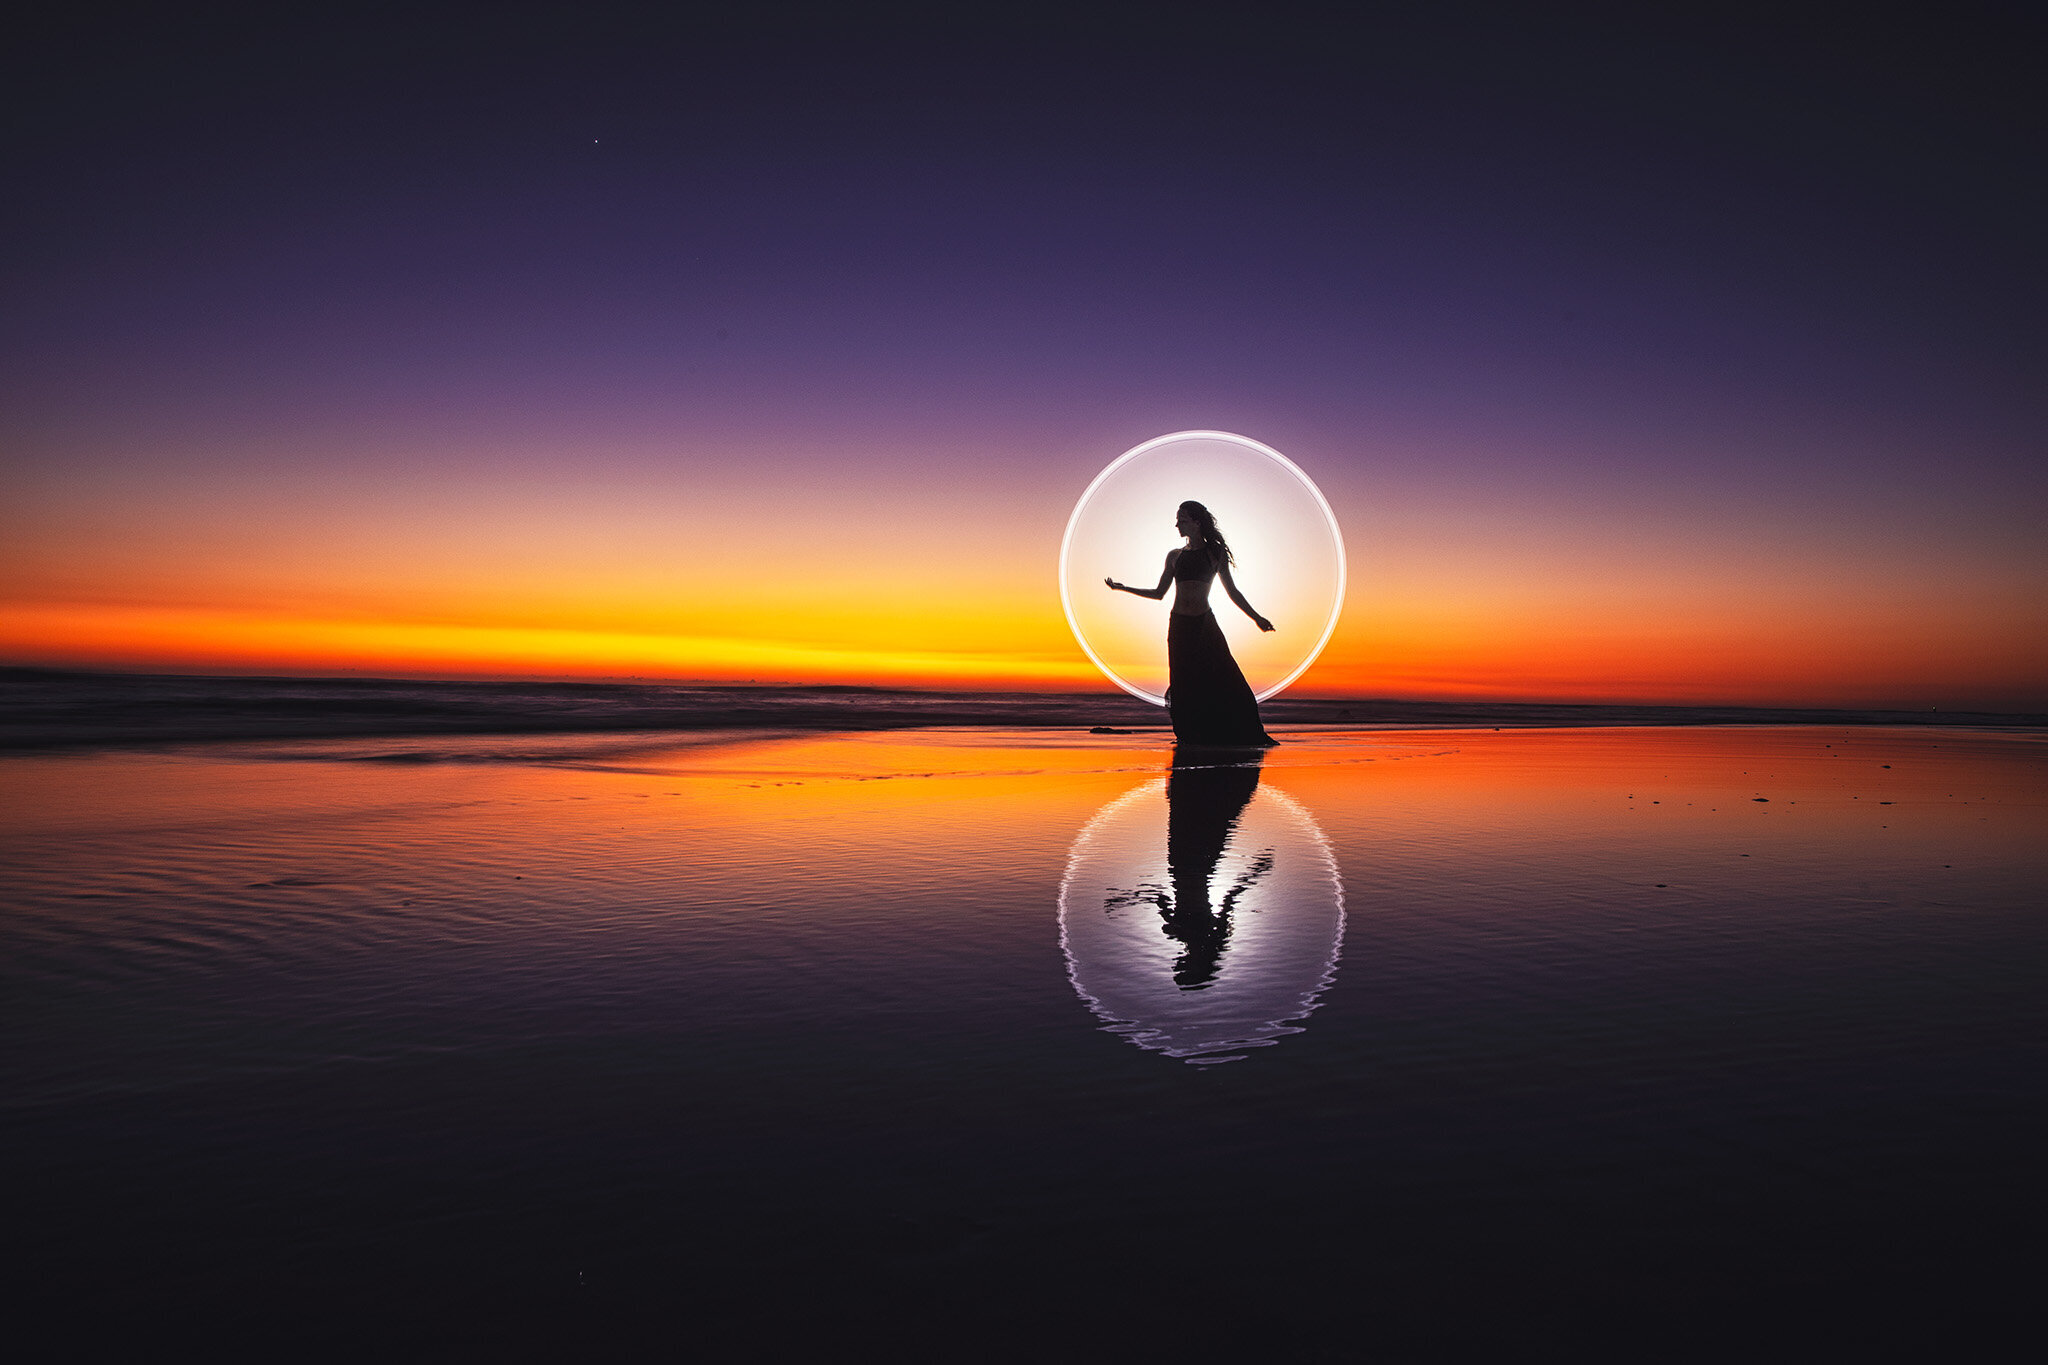
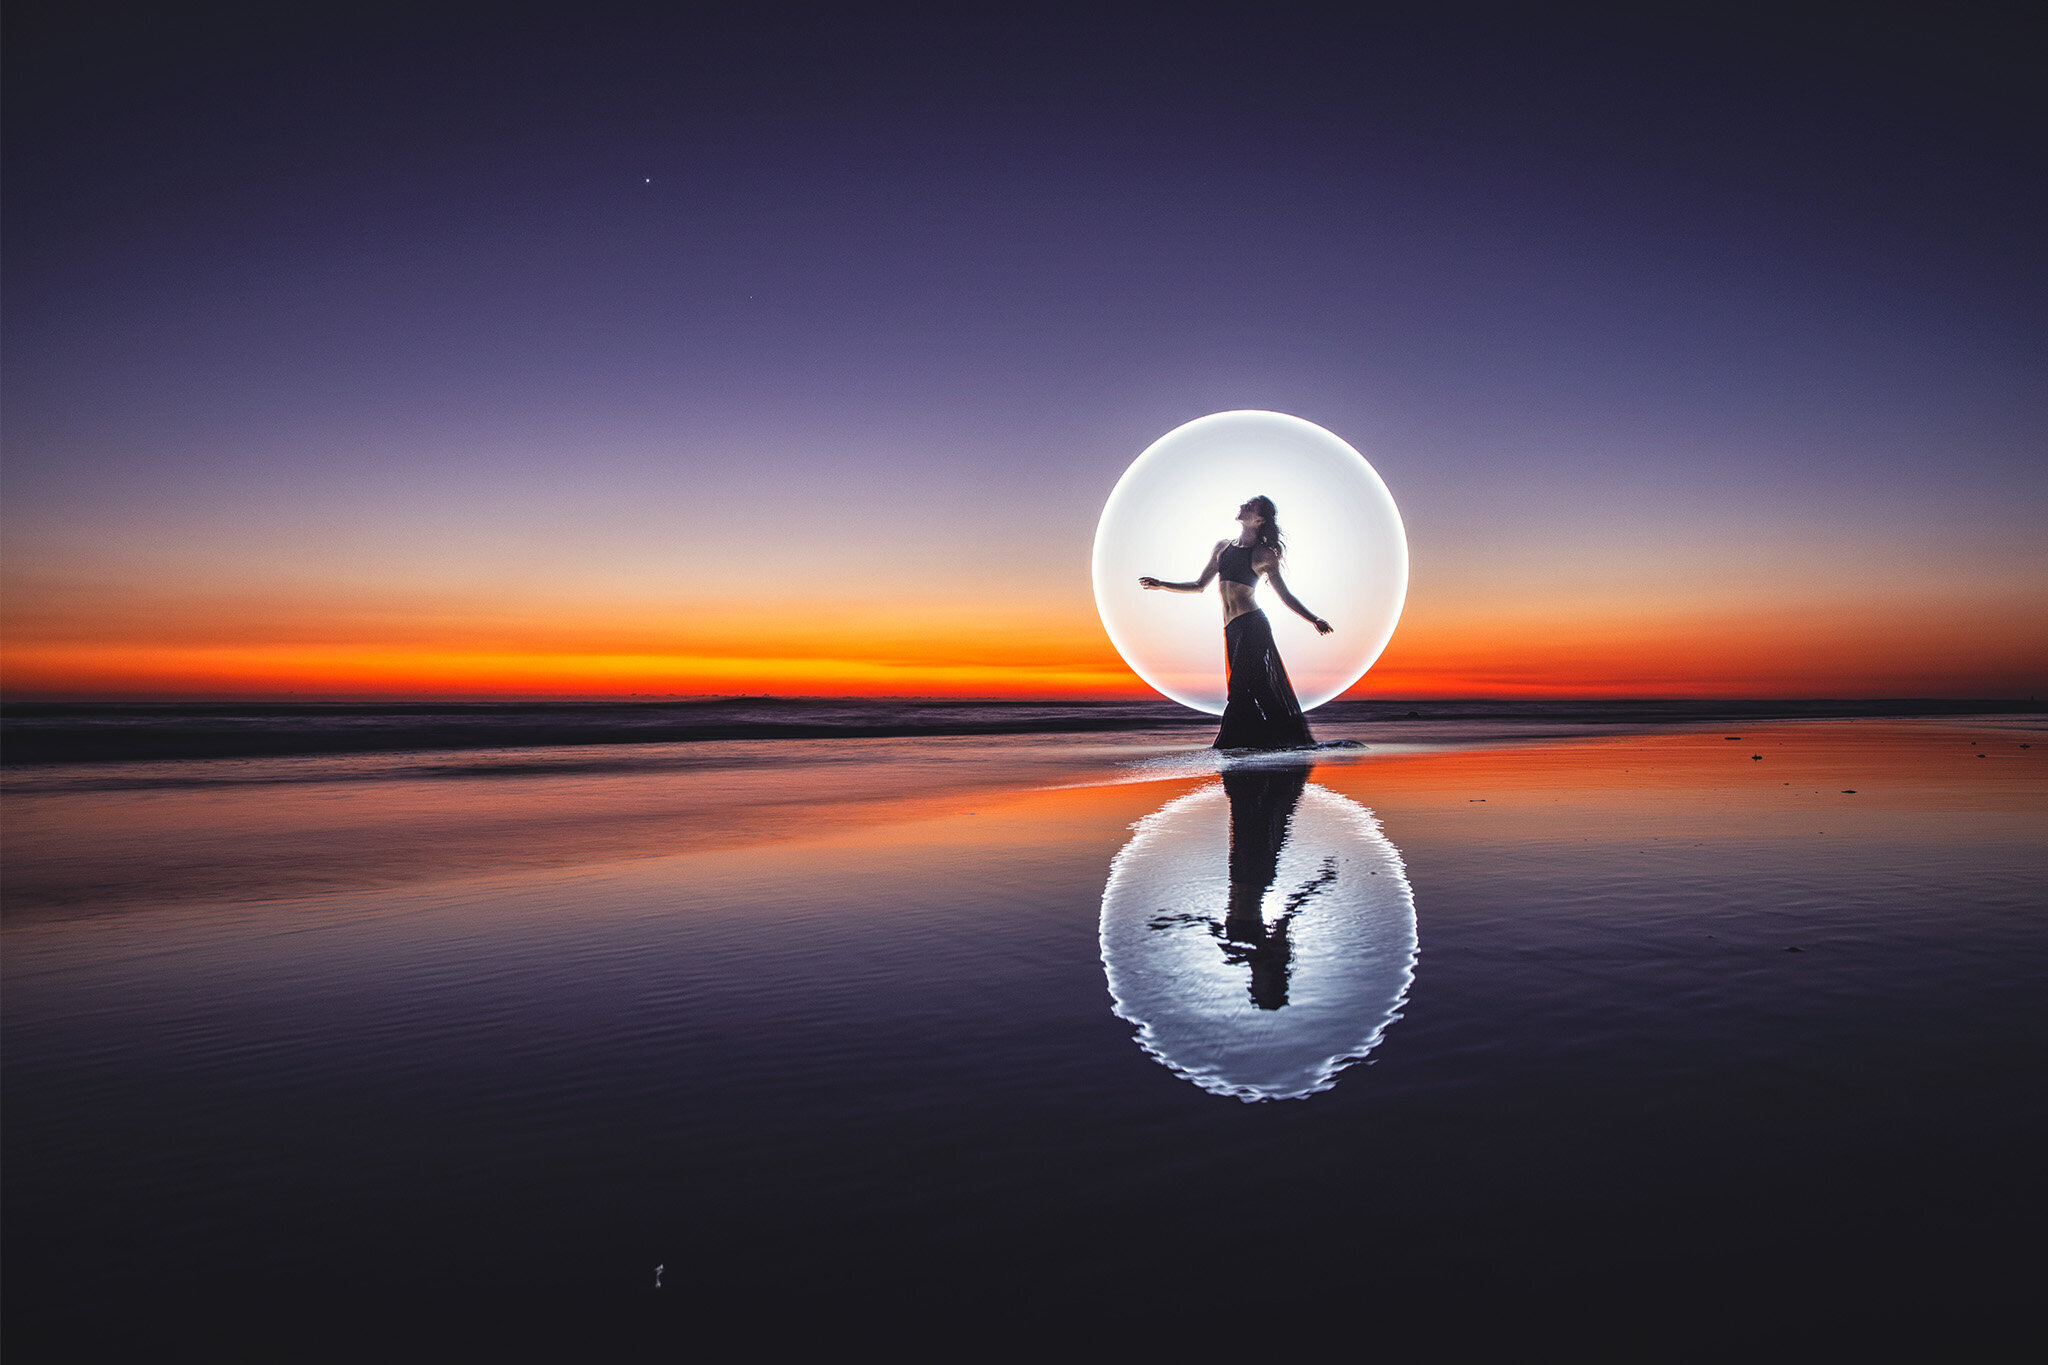
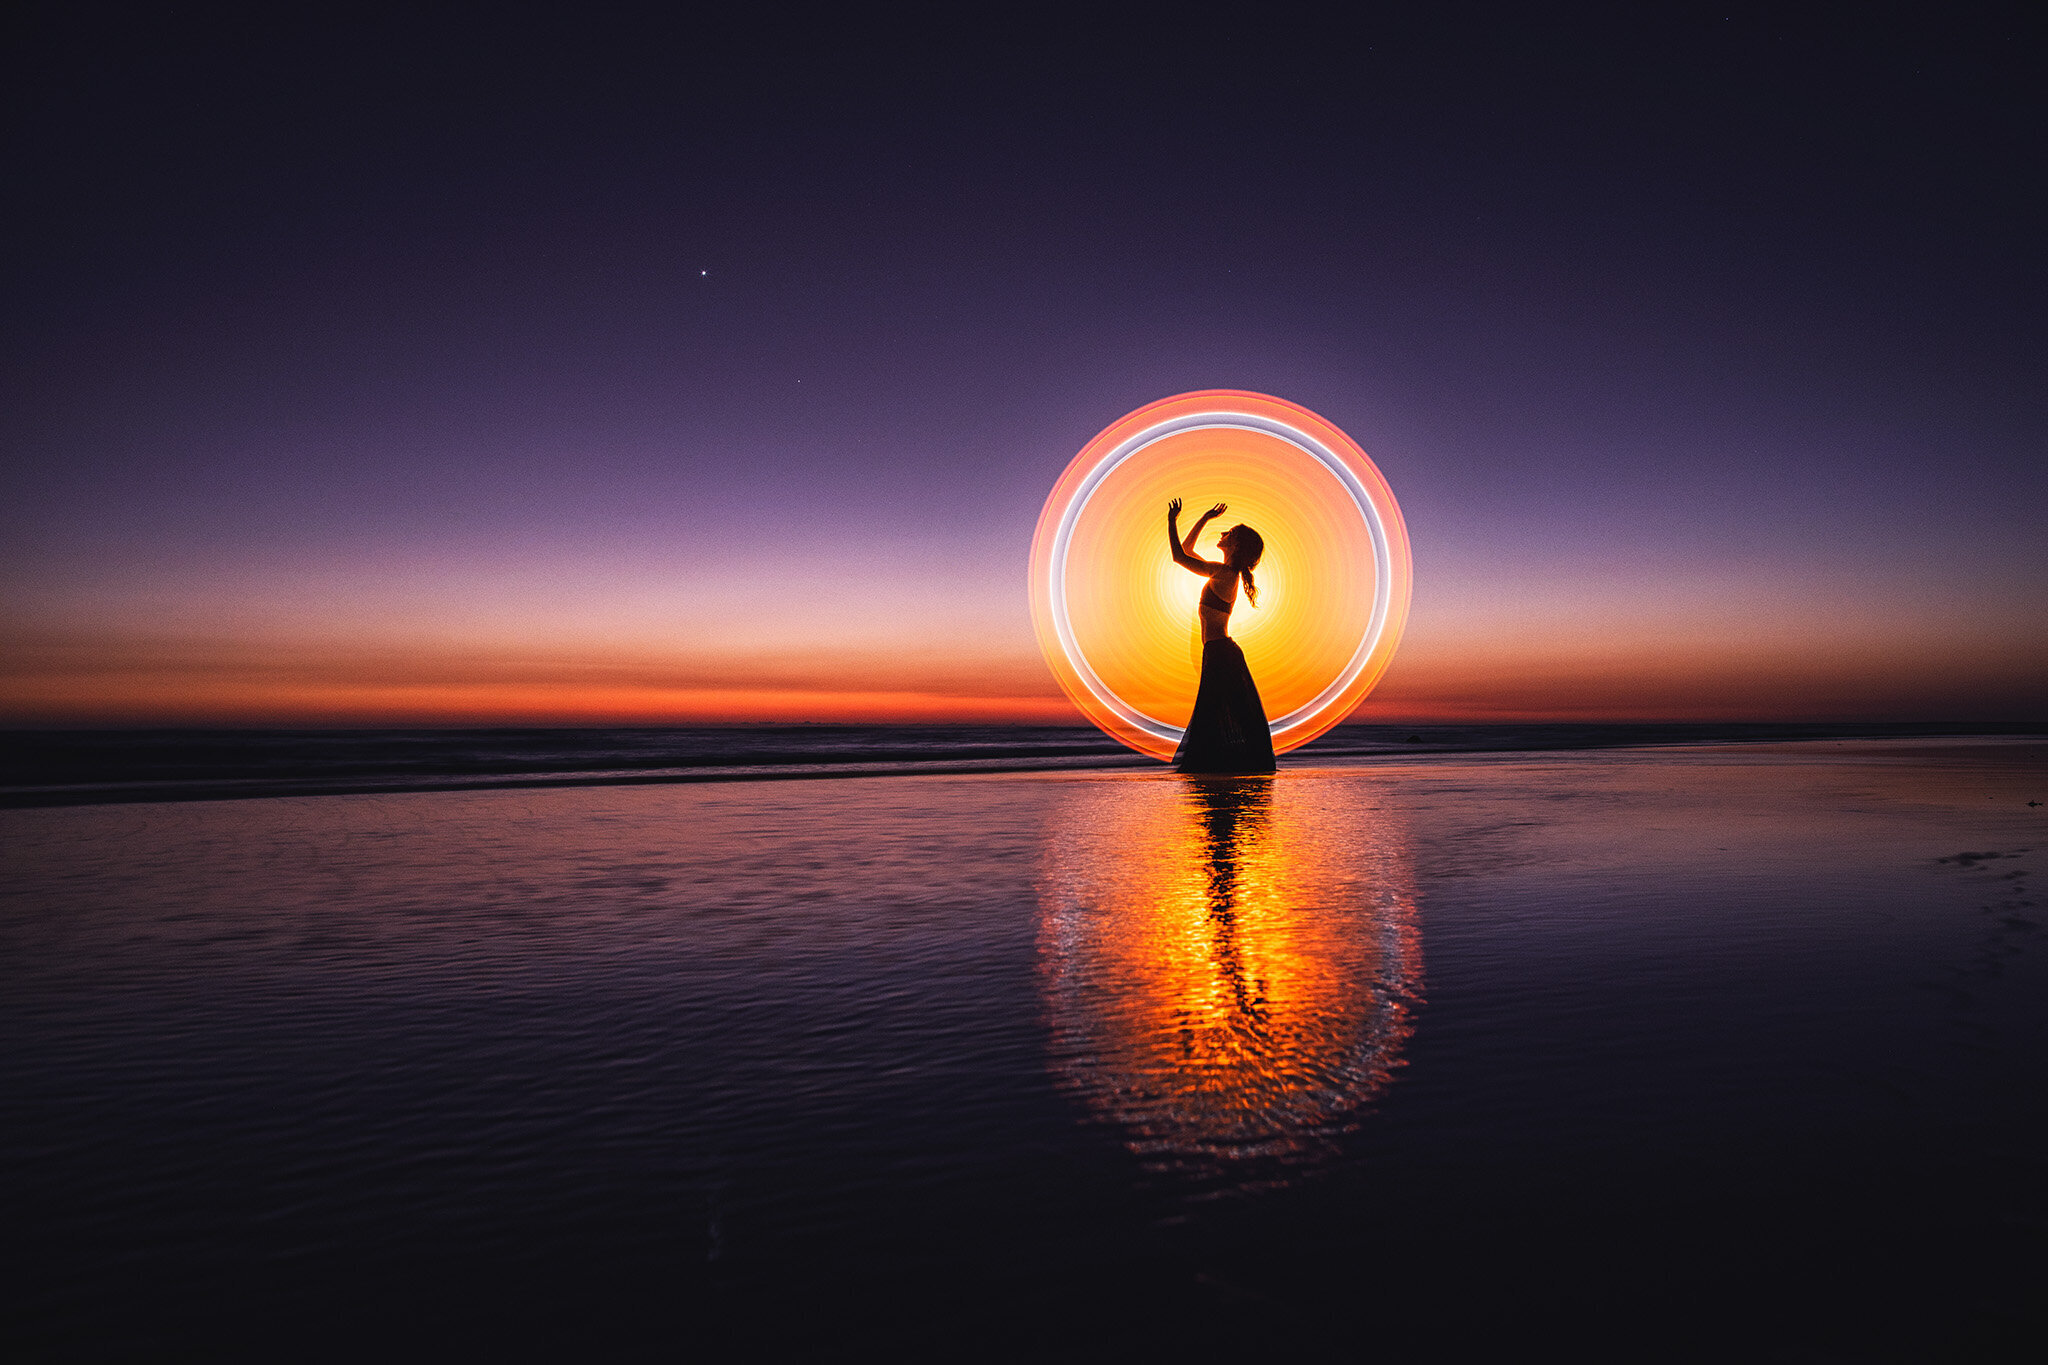
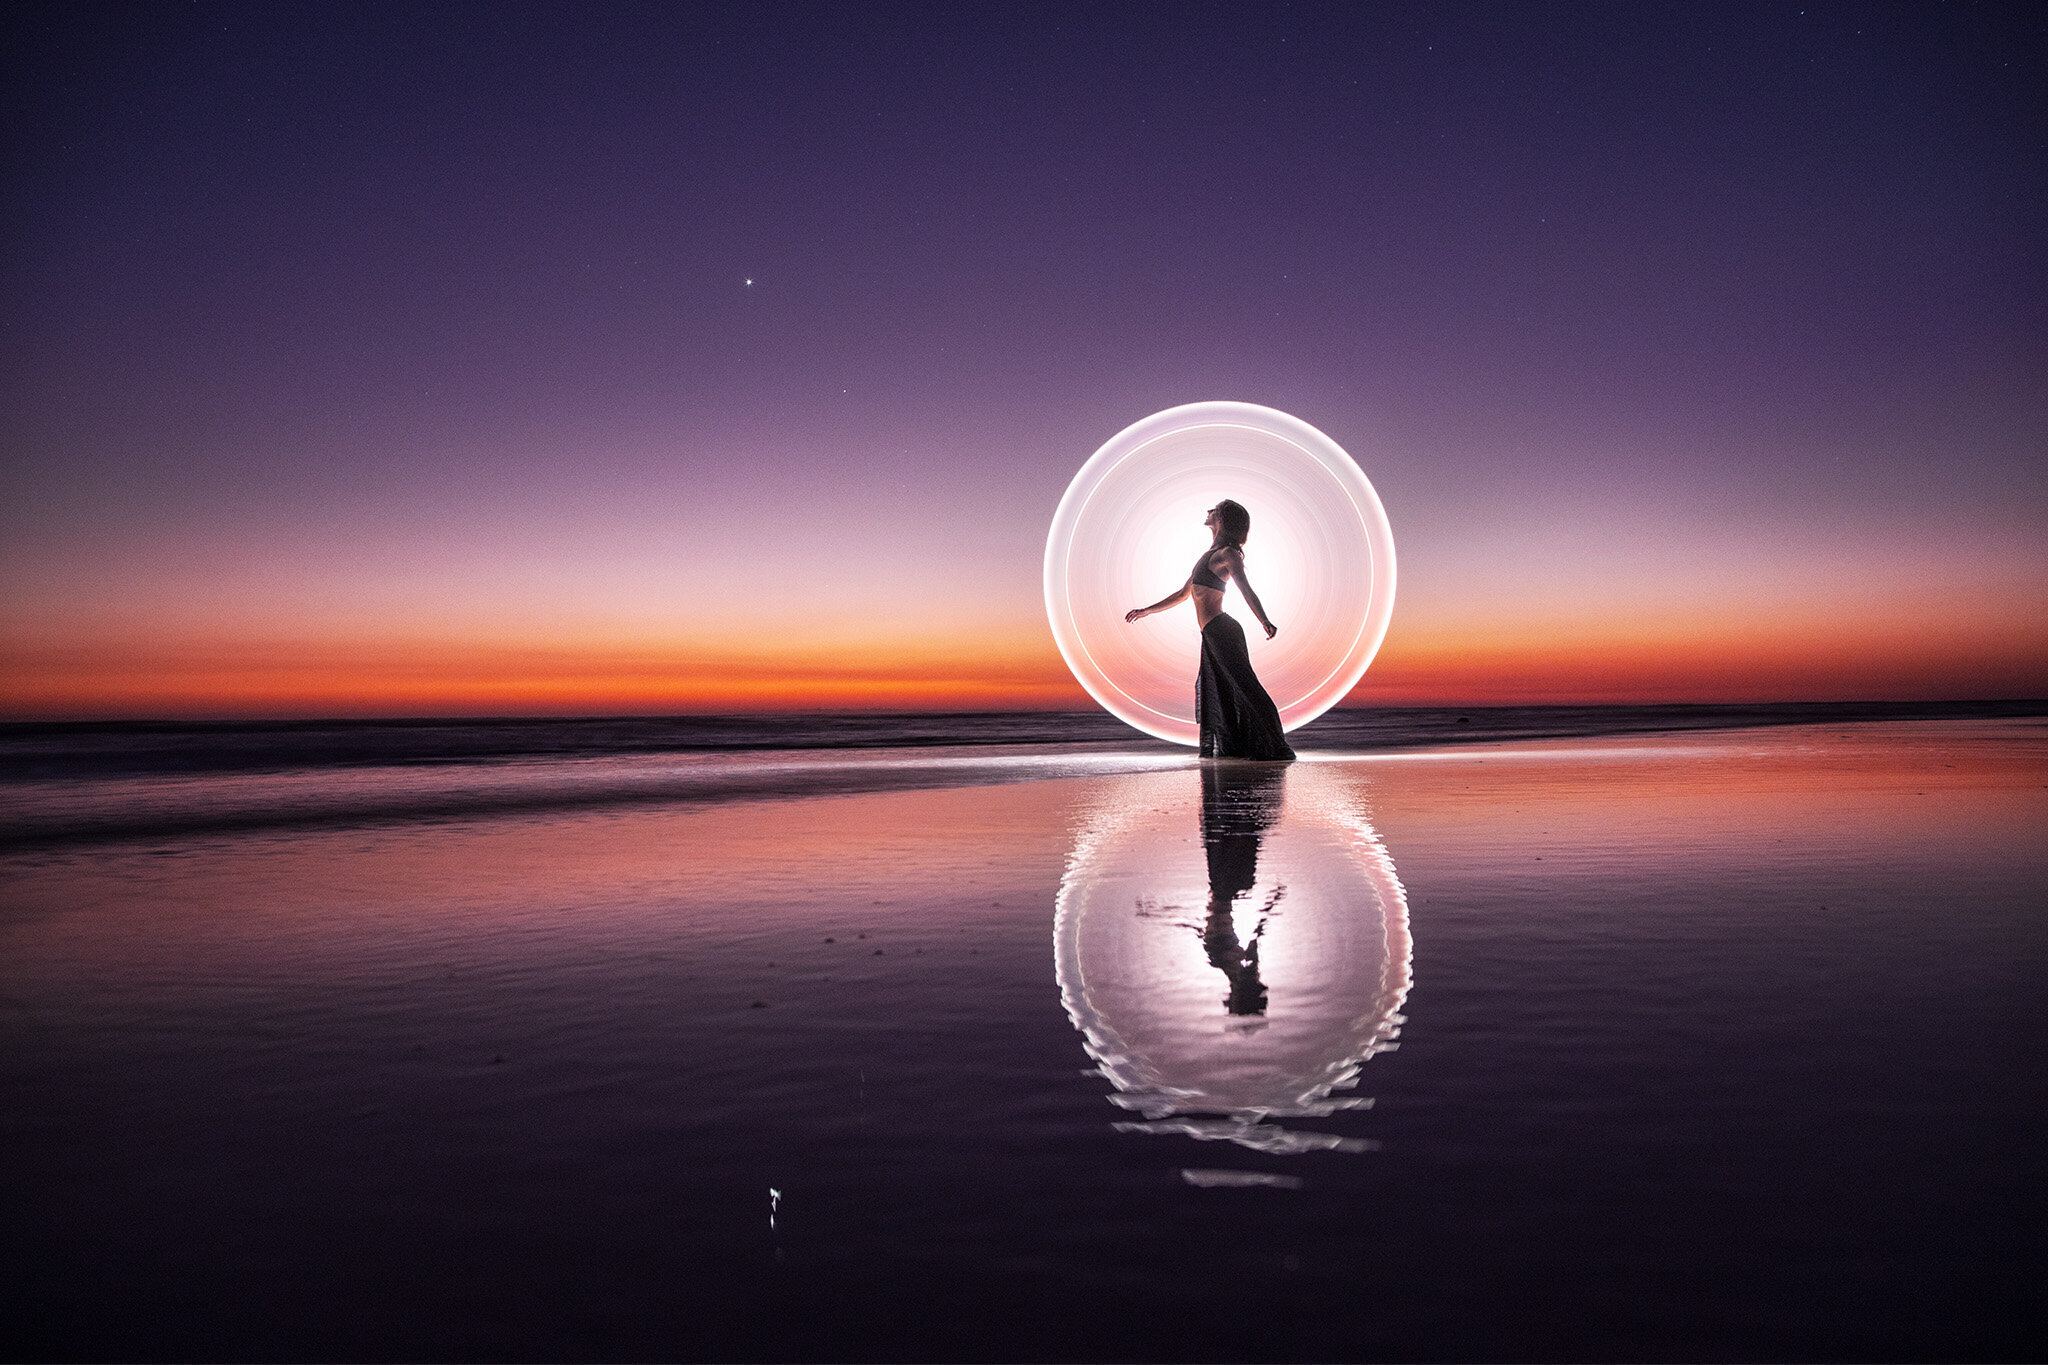
Camera settings progression from one single night, from 18:15 to 19:14
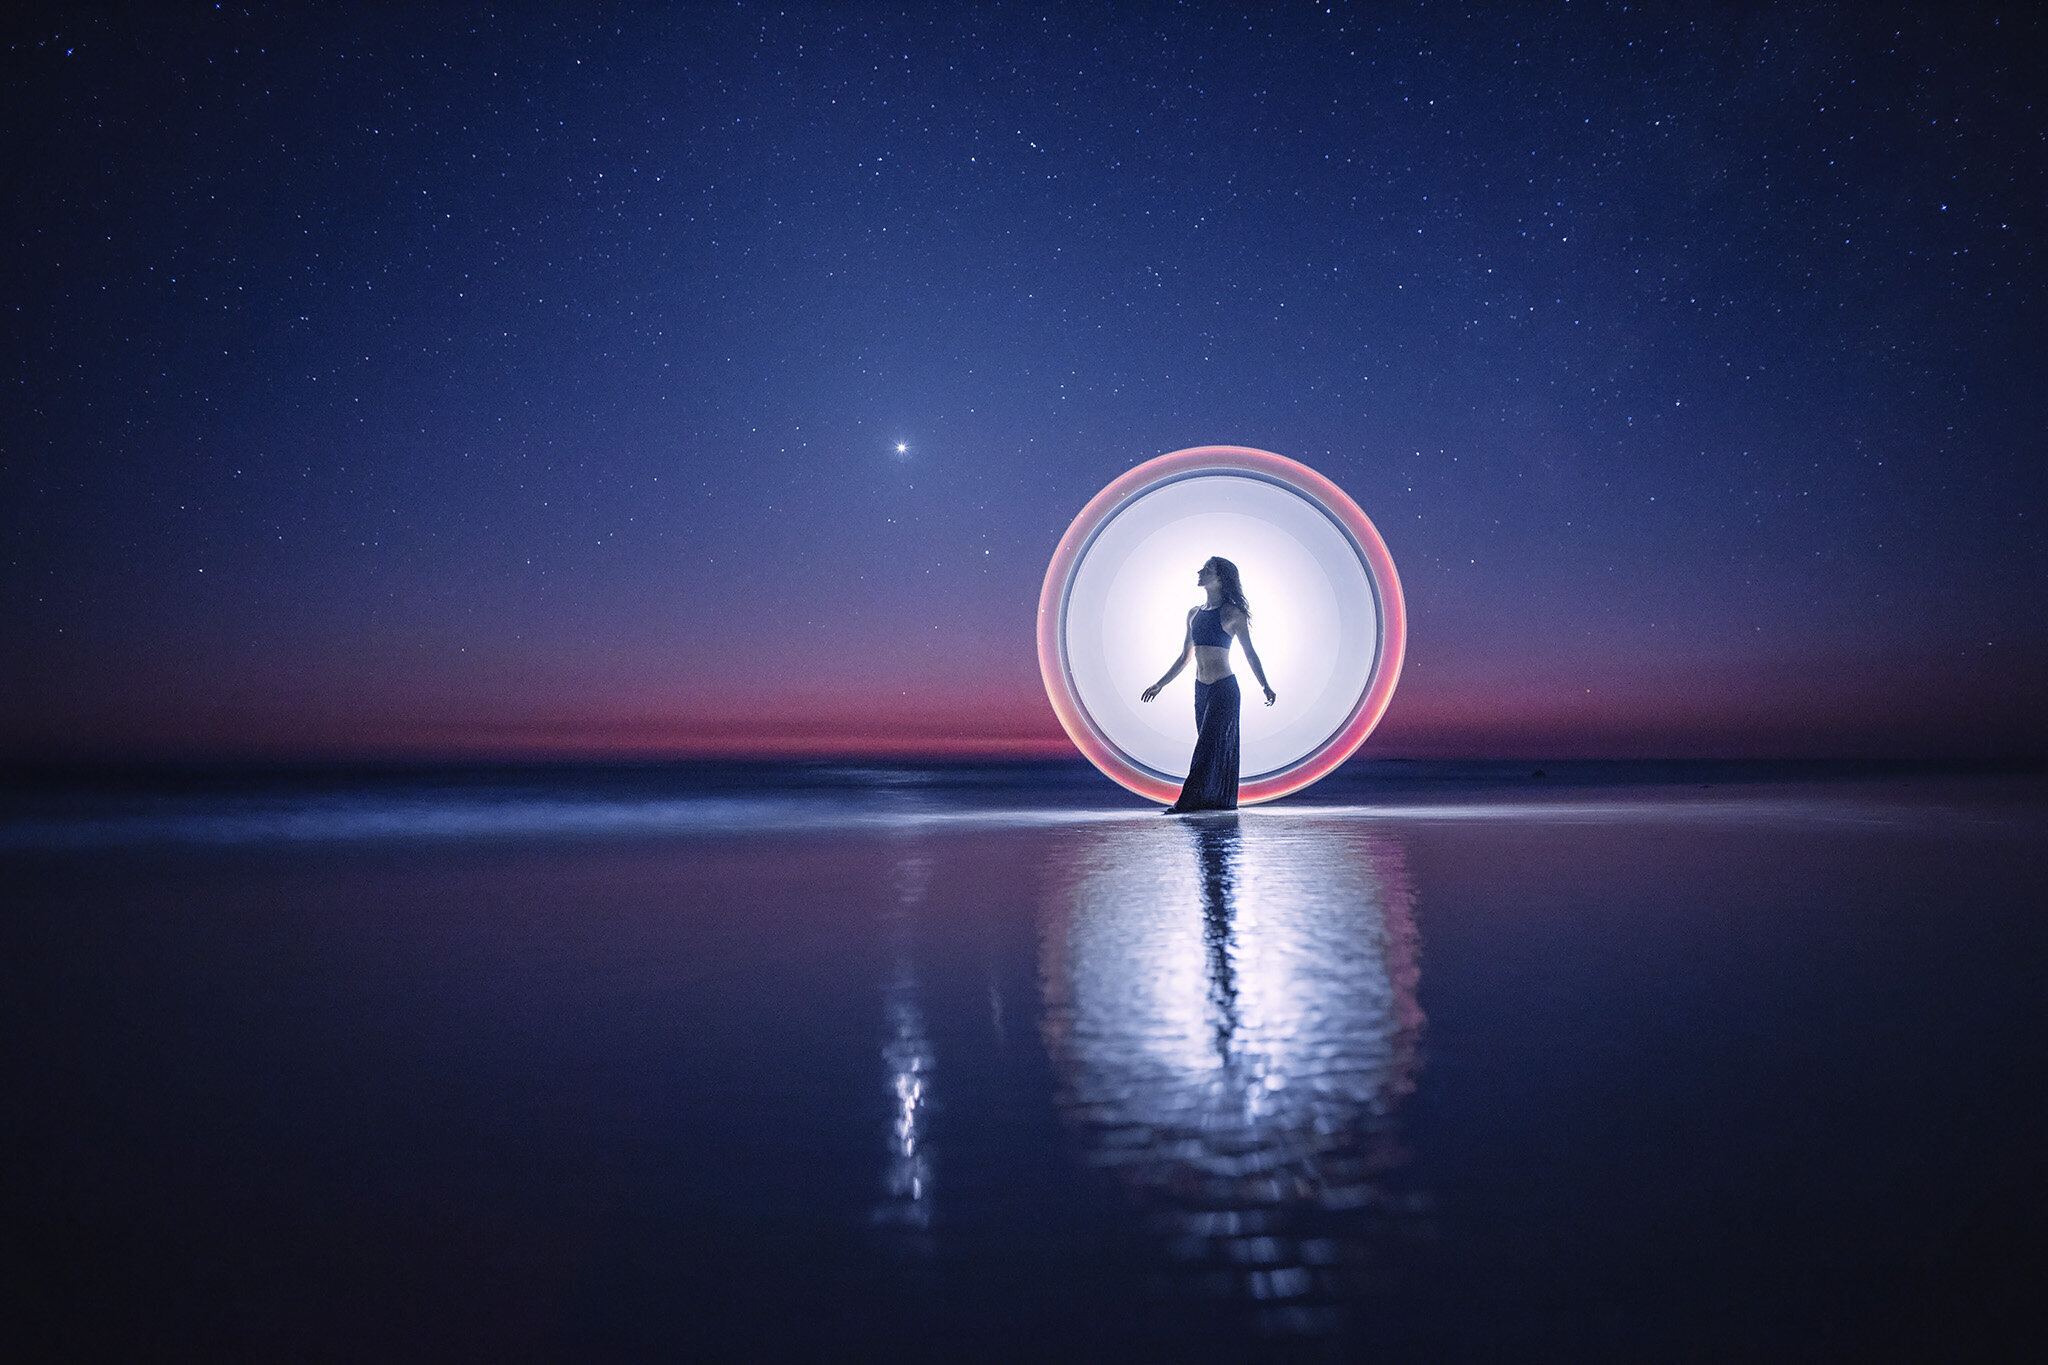
The six images above are showing the exact progression of the night at minute 5, 12, 19, 25, 36, 45. As it got darker, the ISO went from 100 to 1600. The aperture went from f13 to f2.2. The exposure time went from 1.5s to 6 seconds. But the brightness of the flashlight went from 3000 to 150 lumens. And that is the key point. Every time you crank up the settings of the camera, you need to lower down the brightness of the flashlight. When we get near the end of the blue hour, we go from Bulb to Manual on the camera, in order to make sure that the exposure time is exactly what’s needed to grab enough light from the background. However, we do the light-painting for only a fraction of that time.
Note also that the White Balance went from 5200 to 3200. This is not as important as this is something easy to change later on, but it makes your images more pleasing to look at, and that helps to choose the right color for the tube.
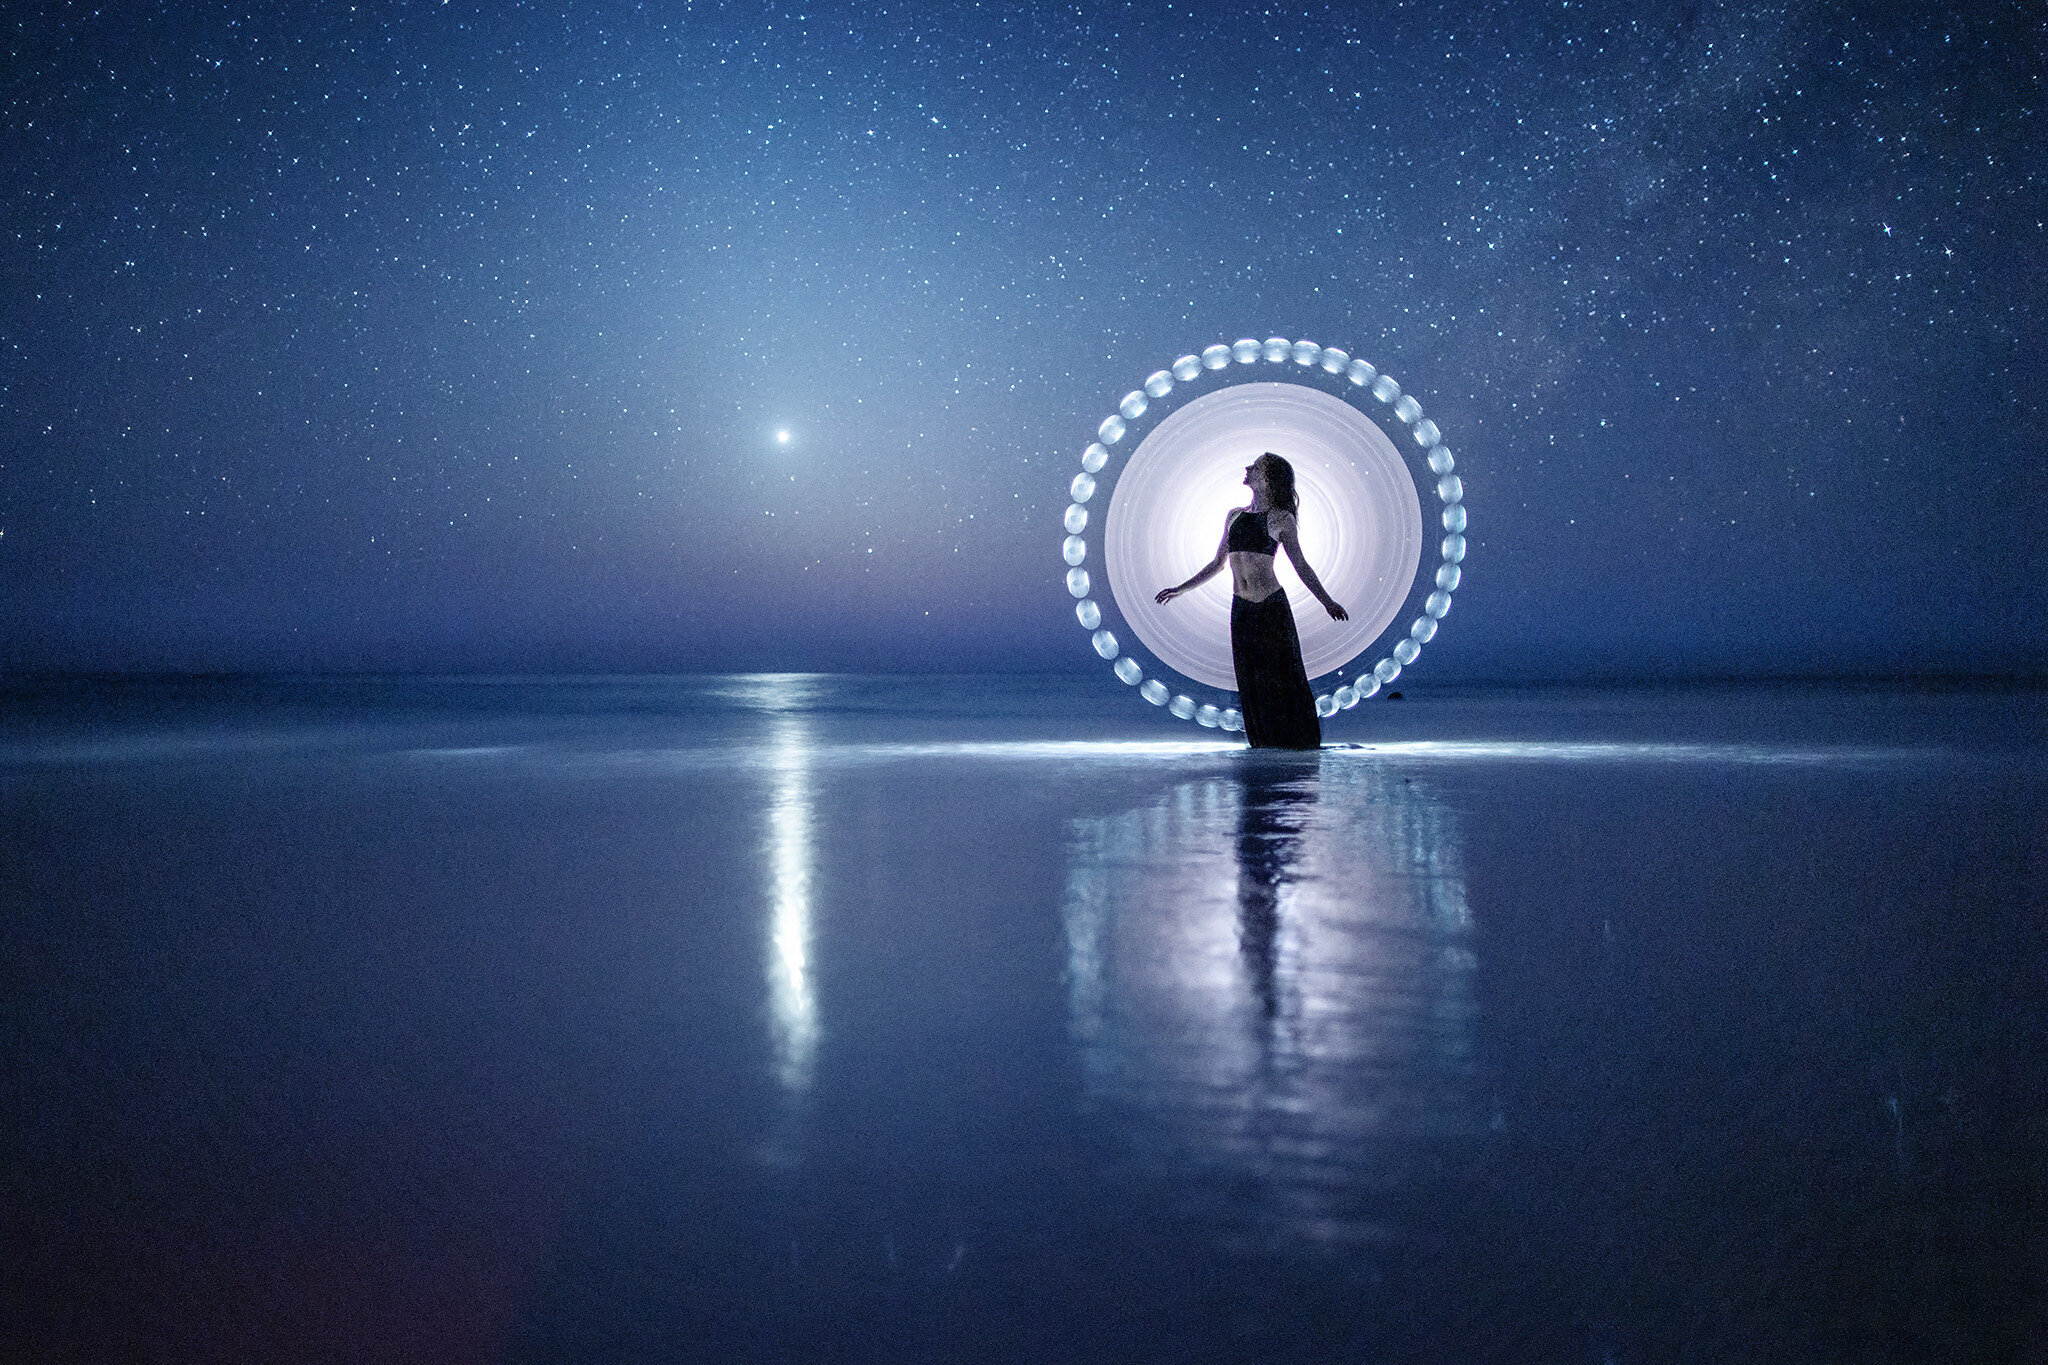
Our 6 final images for the blue hour
Once the blue hour is over, there is no need to change the settings anymore. From then, it gets easier to work as we can concentrate on the composition without having to mess too much with the camera. These two images have been created at night time with the exact same settings.
Our two images created AFTER the blue hour
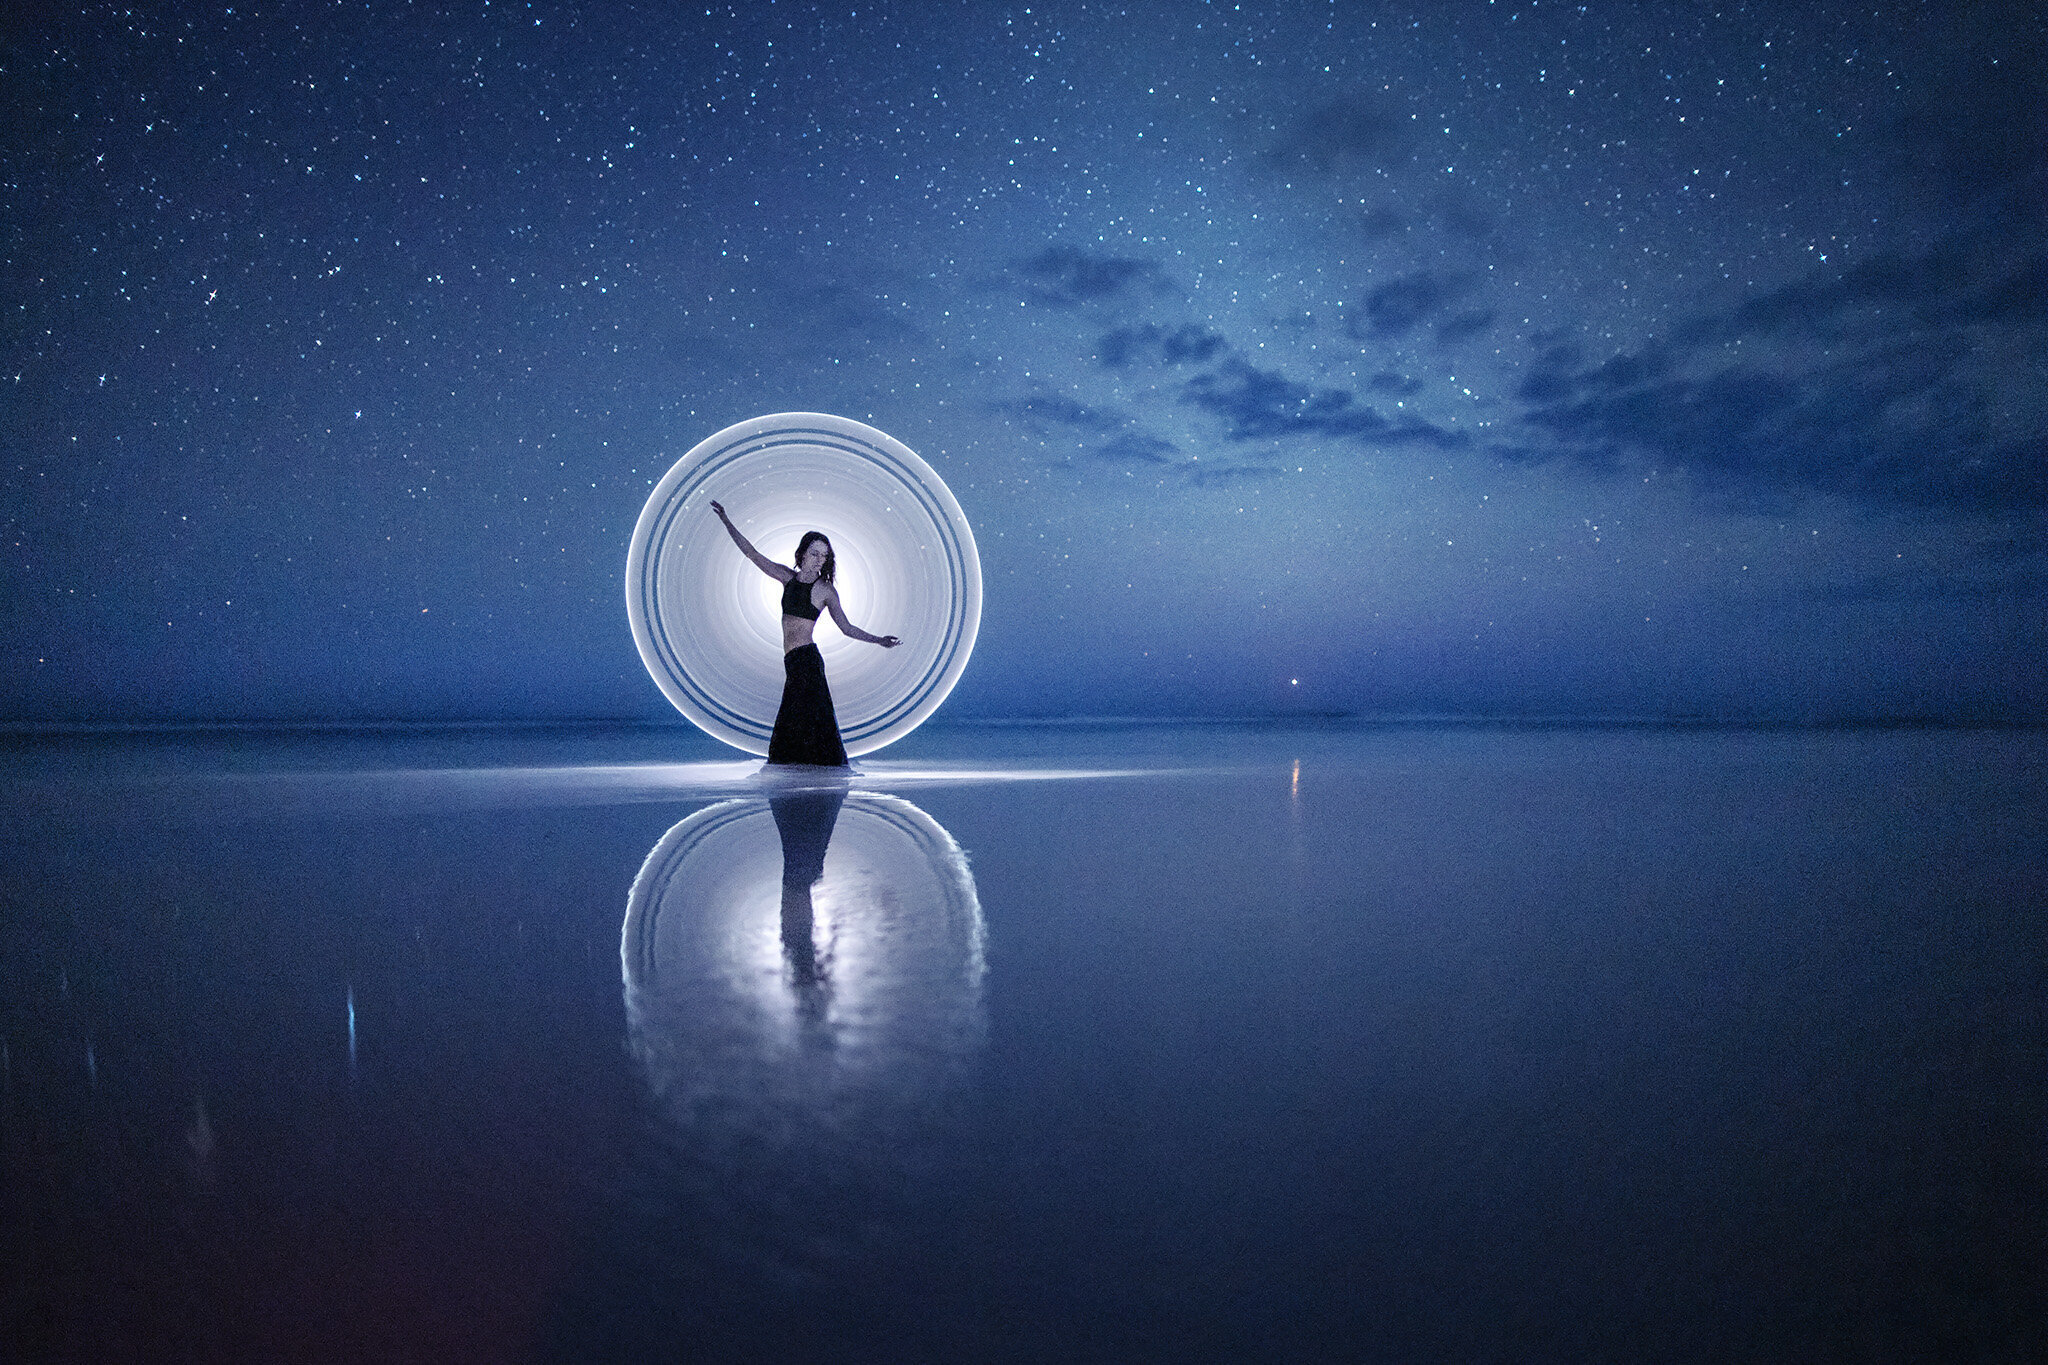
These are some good guidelines to understand the basic principles for the camera settings while doing tube light-painting, but these are not the exact values you need to apply. Things are going to change a lot depending on the clouds, your tube brightness, your flashlight beam angle or the elements in the background or foreground.
Let’s dig into the archives: 2017!
We did our first tutorial of this kind in 2017, but without the experience and knowledge we currently have, things were a bit more sketchy, but still enough to get a decent idea about this concept.
What was different back then?
Our fastest 14mm lens was opening at f2.8, which is ok, but this is easier with a faster lens (f1.4, f1.8)
We were not turning off the flashlight during the exposure, meaning that the shapes were more shaky/imprecise. It helps a lot to be able to turn on and off the light on the fly. We use mostly the MT22c + RSW1 for this: lightpaintingtubes.com/gear
For this specific demonstration, we changed the composition a few times. It’s not easy to work on mudcracks, and at some point, we switched from the glow of the sunset to the core of the Milkyway
We started the night at 2000 lumens, but that was with 2 flashlights on a single tube. With the current lights that we’re using, and by having two tubes side by side, we get much much more power

